Chicken Lettuce Wraps Chopped Salad

2016-06-16 11.56.16
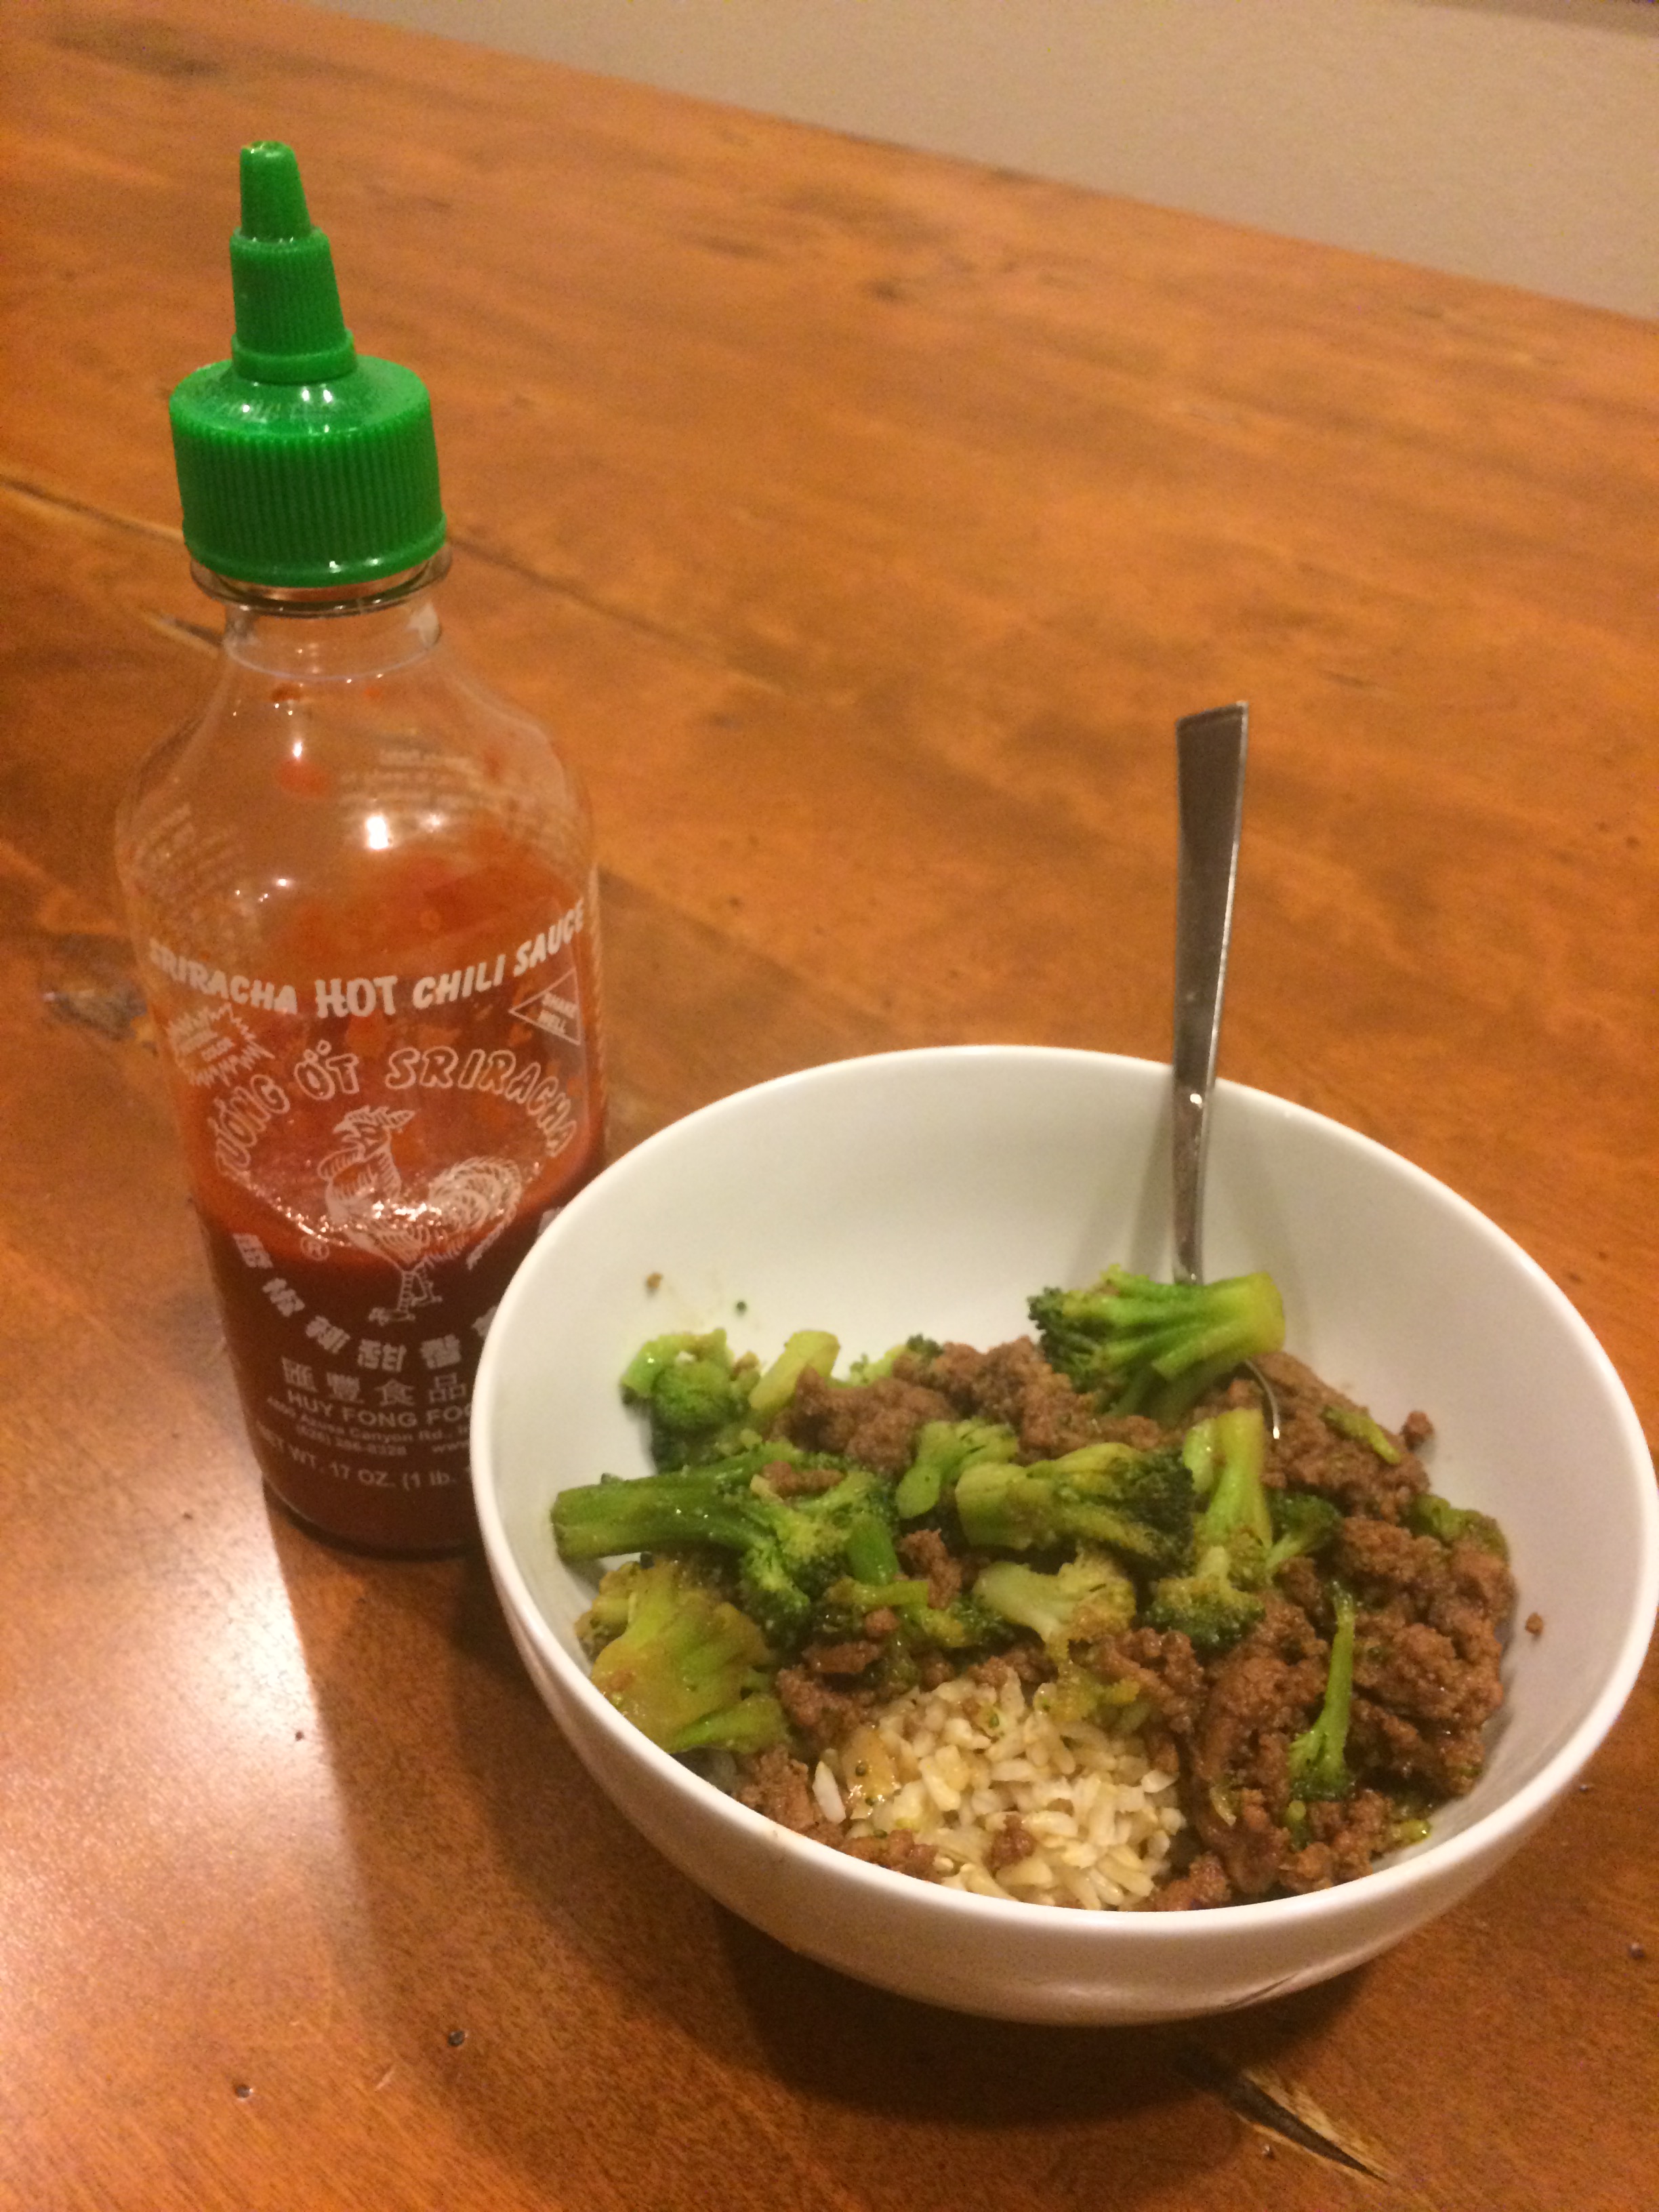
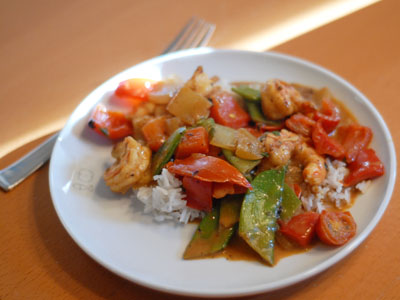
Sorry this isn’t the best photo. I will try to replace it later with something more glamorous. But as a big part of this blog is to catalog the recipes that the family has deemed favorites, I want to get this UP.

To be perfectly honest, only the adult members of the family are gaga over this recipe, but both kids like it well enough. Tabby prefers to eat the chicken and dressing separate from the salad and add ranch or ceasar dressing (her faves) and Ben mostly just likes the chicken, but I think as they get a little older, they’ll come to love it like we do.

The original recipe comes from Skinny Taste and we make very few tweaks.

Ingredients:

SALAD DRESSING

  • 3 tablespoons rice vinegar
  • 1 1/2 tablespoons grapeseed or canola oil
  • 1 teaspoon sesame oil
  • 1 teaspoon honey
  • 
1 teaspoon grated fresh ginger
  • 1 clove garlic, minced
  • 1/8 tsp kosher 
salt and pepper

CHICKEN

  • 1/2 cup hoisin sauce
  • 2 tablespoons rice vinegar
  • 4 teaspoons Sriracha sauce (or more!)
  • 
4 tablespoons less sodium soy sauce
  • 
2 teaspoons grated fresh ginger
  • 2 pounds ground chicken
  • (2) 8 ounce cans water chestnuts, drained and diced
  • 1/4 cup chopped unsalted peanuts

SALAD

  • 6-8 cups of mixed lettuce, chopped
  • grated carrots (optional)
  • random additions like snow peas or chinese noodles (optional)


Directions

In a small bowl, whisk together the vinegar, oils, honey, ginger, garlic, and salt and pepper to taste to make dressing. Set aside.

In a medium bowl, whisk together the hoisin, vinegar, Sriracha, soy sauce, and ginger. Set aside. Heat a medium skillet over medium-high heat. Spray with cooking spray then add the chicken and cook until browned and cooked through, 8 to 10 minutes. Add the water chestnuts and peanuts to the pan. Pour the reserved hoisin mixture on top and cook for 1 to 2 minutes to heat through.

Remove from the heat and set aside. We like this very well when the chicken is fresh from the stove and even better when it’s been chilled in the fridge – very refreshing!

To serve, combine lettuces, carrots and any other additions. Top salad with chicken mixture and drizzle with dressing and toss.

Peanut Sesame Sweet Potato Noodles

2016-05-15 18.40.50

I’ve had a spiralizer for maybe a year now. I was pretty excited by it when I first got it but I rapidly figured out that while I love zoodles (zucchini noodles), the rest of my household does not. I should have been pulling it out regularly to make myself zoodles for lunch, but I think I was kind of bummed.

Luckily, I spotted Organic Dietician’s recipe for Sesame Sweet Potato Noodles and I decided to give it a whirl. Who doesn’t love sesame noodles? It was a success, but it needed just a little tweaking to be perfect for me. Added bonus, Matt loves them too.

Ingredients

  • 2 medium to large sweet potatoes, peeled & spiralized
  • 1 T olive oil
  • 2 T no-sugar-added peanut butter
  • 1 T sesame oil
  • 2 T apple cider vinegar
  • pinch salt
  • 1 T sesame seeds
  • sliced green onion (for serving)
  • sriracha (for serving)

Directions

Place spiralized sweet potato in a microwave-safe bowl and drizzle about 1 T water in the bottom of the dish. Microwave 8-12 minutes depending on how cooked you’d like your sweet potato. I like mine with just a hint of crunch and so I go about 10 minutes.

Heat olive oil in a skillet and add noodles. Saute for about 5 minutes. This removes some excess water and makes them a bit more noodle like.

Meanwhile, whisk together peanut butter, sesame oil, vinegar and salt.

When noodles are cooked as desired, toss with dressing and top with sesame seeds and green onion & sriracha if desired.

These are great warm, but I like them even a bit better cold the next day.

Easy Korean BBQ Beef with Broccoli

2015-02-02 18.12.46I fully realize I’ve been rather terrible about posting new recipes. But really, maybe it’s just that I’ve been more selective. I’ve wanted to make sure that we really really LOVE something and it’s truly ingrained in our family dinner repertoire before I post it. But I have to say I was a little surprised I hadn’t already posted this. We make it very frequently. At least once a month. And for us, that’s huge.

The original recipe came from Damn Delicious, a favorite recipe blog. And her’s is amazing, so it was the foundation for this, but I always need to soup things up a bit, usually with VEGGIES and this was no exception. I also moved the heat out of the dish so adults could add it to taste later with some Sriracha and nixed some fat and sugar.

Ingredients

  • 2 lbs 93% lean ground beef
  • 6 cloves garlic, minced or pressed
  • 1 T sesame oil
  • 1/2 C brown sugar
  • 1/2 C soy sauce
  • 1/2 t ground ginger
  • 2 packages frozen broccoli (I like the kind that steams in the bag)
  • Sriracha for serving (optional)
  • rice for serving

Directions

Note: If you’re going to have rice with this, you probably need to get going on that before you ever start the beef because this is quick.

Start by browning the ground beef, breaking it into small pieces as you go. As that’s heating up, toss in your sesame oil and garlic cloves (I just push these through the press so I don’t have to fuss with them before I start). As the ground beef browns (you’ll have to stir it occasionally as you work), steam your broccoli in the microwave. Then combine the brown sugar, soy sauce and ginger in a small bowl. Whisk together.

As soon as the ground beef is brown, add the sauce and broccoli and stir to thoroughly combine. Allow to simmer for a couple of minutes and serve on top of your rice with as much or as little Siracha as you can handle.


2015-02-02 18.06.35This is by far one of the easiest things I cook. I can get it on the table in probably about 20 minutes. This is partially due to the fact that we love minute rice and that can cook alongside it in about the same time. Everyone in the family LOVES this.

Sriracha Salmon with Summer Squash Hash

2014-10-20 18.28.39

I like anything I can get on the table for my family in under 30 minutes that is healthy, real food. Salmon almost always fits that bill because it cooks quickly and needs very little adornment to make it special. This dish is no exception and is a really great addition to any week night warrior’s repertoire. Add my summer squash hash and it’s a full, healthy, very yummy meal with leftovers for lunch the next day.

Ingredients

For the salmon:

  • 2 pounds salmon cut into 4-6 oz pieces
  • 1 lime
  • 1 T Sriracha hot sauce
  • 2 T brown sugar
  • 1 t sea salt
  • 2-3 green onions, thinly sliced, for garnish

For the Summer Squash Hash:

  • 2 cups cooked rice (brown is our fave)
  • 3-4 summer squash (zucchini or yellow squash) cut small or julienned
  • 1 T butter
  • S&P or salt and lemon pepper or garlic salt or … ?

Directions

Heat oven to 425. Start your rice cooking. Heat water on the stove or turn on the rice cooker and get it going. Then prep your summer squash. We use the mandoline on the fine grate setting and turn over 4 squash in just a few minutes. This is a good time to slice the green onions as well.

Next, cover a baking sheet with parchment or foil and place the salmon pieces on top. Zest the lime over it. Then combine the lime juice, Sriracha, brown sugar and sea salt together in a small bowl. Drizzle over the salmon and place in the oven for 16 minutes. We found this is the perfect cook time for us, but if you have very thin salmon or like it more rare, you should probably check after 10 minutes.

Now, use the next 16 minutes to cook your summer squash and finish up your rice. Heat 1 T butter in a fry pan and add the summer squash. Saute for 8-10 minutes until a bit soft. Don’t move it around too much, you want to move some moisture and start to get it a little brown if you can. Season with your desired spices and combine with the rice.

Sprinkle green onions over salmon and serve atop your delicious hash. Enjoy!


2014-10-20 18.31.22Notes: we do not find this to be a particularly spicy dish, despite containing Sriracha. The fattiness of the salmon seems to cut it nicely. Also, hash is equally delicious deconstructed (with rice and squash not touching) if you happen to have picky eaters.


Coconut Curry Lobster Bisque


2014-10-19 16.38.08

This is a recipe I’m posting at least half for my own record keeping as anything else. I still have some lingering questions about the recipe and I don’t have great photos, but I’ll share what I’ve got and try to update the next time we make it. But man, it’s too good to lose!

Backstory: Last week we went to Sweet Tomatoes as an atta-boy for Ben who had been struggling a bit with behavior at school and is now happily doing amazingly well, literally OFF-THE-CHARTS. Sweet Tomatoes (this is a salad, soup, pasta buffet with some baked goods and soft-serve ice cream thrown in) is a perennial favorite restaurant of the kids and Matt and I like it, but in a sort of we’ll put up with it for your sake kind of way. It’s generally not too innovative or interesting, but everyone can find something they like and it’s reasonably healthy if you’re careful with how much and what you pick.

So we got our salads and ate those and then Ben begged to go get mac ‘n’ cheese and I accompanied him, served his pasta for him and sent him back to the table. Then I wandered over to the soup bar where they had the usual array of 6 soups. They always have a bunch of the same ol’ but then have some seasonal offering … and this time, it was Lobster Curry Bisque. The seasonal soups are very largely hit or miss, but I almost always try them and this one was … OMG. Amazing. It was all I could do not to go back for seconds, thirds, fourths and bribe the people to send me home with the absurdly large vat of the stuff.

It was all the yummy stuff about regular lobster bisque but with coconut and curry flavors and just so so so good. It was kind of like a mixture between Tom Kha (a thai soup with a lovely coconut base) and regular ol’ lobster bisque. Awesome. I was already planning a return trip for this week when I realized that we were on the LAST DAY of the soup special. Disaster. Only if the soup is a huge hit do you ever see it again and even then, it could be easily a full year!

So I did what any sensible person would do. I googled. And I came up with the delightful recipe for Coconut Curry Lobster Bisque by a Ms. Natalie Paramore. I’d never been to her site before, but she showed a pretty good method and so I decided I’d give it a whirl. And just a couple of days later, I stuck it on the menu for Sunday night … along with another tried and tested soup (Beef Barley with Mushrooms) just in case.

Acquiring the ingredients was a bit more hassle than normal and included a trip to an Asian grocery store. But happily, an H-Mart has just cropped up on one of my more frequently traveled paths and Ben in tow, we were able to get lemon grass, lemon thyme, coconut milk and coconut cream powder (as well as some other Asian grocery store treats) while Tabby was testing for her orange belt on Saturday.

So Sunday was the regular crazy Nichols affair. We had a swim birthday party in the morning that we followed up with lunch with friends and then we met up with other friends back at our house shortly after that to do a little crafting (they wanted to make a CO pallet flag as well). They’d offered to bring dinner (after I’d already menu planned and done most of the shopping) but since I had something in the works, I said I’d just go ahead with that.

So while the wife was working with Matt on the pallet flag, I was in the kitchen cooking it up … and watching some football. I basically followed the original recipe with some modifications:

Ingredients

  • 4 Lobster tails (I forgot to see what weight I used, but they were small and I’m betting they totaled in the 3.5 lb range)
  • 6 cups water
  • kosher salt
  • 4 cups chicken stock
  • 2 stalks lemon grass
  • 2 sprigs lemon thyme
  • 1 T peppercorns
  • 3 teeny onions
  • 9 cloves garlic
  • 3 T red curry paste
  • 1 can coconut milk
  • 1/4 C coconut cream powder
  • 1 lime
  • cilantro for garnish

Directions 

As I said, this was all a bit on the experimental side. To my knowledge, I’d never even cooked lobster before, but what the heck! I’ll try anything.

So first step was to steam the lobster. I placed them in my soup pot with the water and about 2 tsp of kosher salt. Then, as the recipe directed, I brought them to a boil and covered to steam for 12 minutes. While that was in the works, as suggested, I chopped up the veggies. Lemon grass is no joke! It was crazy hard to cut and I ended up more or less sawing it with my serrated bread knife. Since the recipe said we’d be blending these things up, I just did the rough chop.

After the 12 minutes had elapsed, I removed the lobsters to a plate to let them cool. Once they were cool enough to handle, I dug out all the meat. I did this over the plate to capture the juices and dumped the juices and meat back into the soup pot. Then I added the chicken stock, lemon grass, lemon thyme, peppercorns, onions and garlic back to the pot and set it to boil for 45 minutes to make the stock.

Though this step was obviously not difficult, it is what would keep me from making this on a weeknight. In this case it worked out beautifully because I could prep everything for my other soup while the stock formed.

Once the stock was done, I strained it back into another pot as the recipe called for and here’s where it got a bit jinky. The author said to remove the whole ingredients and the lobster tail shells, but then it clearly showed those things being blended up and had referenced this fact before. Not wanting to lose out on any flavor, I opted to just remove the lobster tail shells and blend with my immersion blender. That technique works wonderfully on many of the soups I make, but the crazy lemon grass was really resistant and it was clear that ingredient would not blend nicely into soupiness. It just more or less ground it up. Therefore, I decided to run it back through the strainer once more. I was very happy with this move because it was clear that this fiborous stuff did not belong in there. I ended up squeezing it out to get all the liquid back out.

From there, the finish was easy. Stir in some curry paste (I just did a bit over half the jar, an estimated 3 T) and the can of coconut milk. The author had suggested that coconut cream was preferable but even at the Asian grocery store, there was none to be had. So I picked up the powder. The directions said to make it by putting the whole packet in a cup of water. But rather than do that, I stirred in about a 1/4 cup into the soup for just a little extra creamy. Next time I’d like to order the coconut cream off Amazon to see what difference it makes. Then I stirred in the lobster and squeezed lime over the whole thing and served it up!


All 10 of our guests (my dad and sister had joined us by this point) agreed – it was amazing. The kids all gamely tried it and ate at least half of their bowls. Any leftovers the adults were glad to bat clean-up on.

Work wise, this was honestly very manageable. I would guestimate that my hands-on time was around 1 hour and then add in the cook time around 1 hour. As I said, the only hard part was the uncertainty in straining the soup. I think I would be much quicker making it next time around, probably cutting my hands-on time to 30-40 min.

One might wonder though, how it compares to its Sweet Tomatoes inspiration. The answer is … quite a bit different, but possibly even better. The main difference was the texture. Sweet Tomatoes’ was much more thick creamy and this was definitely thinner, but still creamy. This had more the consistency of a thai coconut soup (Tom Kha). The flavors in this were a bit more subtle as well. You tasted everything, all at once, and nothing overpowered anything else. Lobster, coconut, curry, citrus.

To top it all off, the Broncos won, Payton captured the TD pass record, our friends have their very own CO pallet flag and we all had a very lovely evening.


Crockpot Green Curry Chicken

greencurryThere is little I like better than coming home from work and having dinner waiting. And if it’s healthy, delicious food that the whole family likes? Purrrrfect. This meal really hits the sweet spot for us. I adapted theoriginal recipe comes from this post and it has quickly become a family favorite, especially for Miss Tabby, the impetus of this whole project.

Crockpot Green Curry Chicken

Ingredients

  • 2 lbs boneless skinless chicken breasts
  • 2 medium onions roughly chopped
  • one head of garlic, minced
  • 2 15 oz cans lite coconut milk
  • juice of 2 limes
  • 4 oz green curry paste (we use Thai kitchen)
  • 1/4 C brown sugar
  • 2 t salt
  • 1 t black pepper
  • 2 T cornstarch
  • 32 oz frozen stirfry vegetables
  • rice to serve if desired

Directions

This is a great spot to use the food processor if you’re so inclined. I take both onions, quarter them and toss them in the food processor with the cloves of garlic and pulse a few times. That makes prep pretty darn quick. Otherwise, chop, mince like normal.

Place the chicken in the bottom of the crockpot and throw the salt and pepper on it. Mix it up a bit. Then mix up the coconut milk, lime juice, curry paste, and brown sugar and pour it over the chicken. Cook on high for 4-5 hours.

About 30 minutes before you want to eat, stir in the frozen veggies. Also, this is a great time to start your rice!  Then mix the cornstarch with about 2 T water and then mix that into the curry. Continue to cook until the vegetables are warmed and the sauce thickens.

Serve yummy veggies and meat over a little rice. Mmmmmm


This has a little kick to it, kind of on the back side, but it’s not really spicy (i.e. both kids like it). You could definitely spice it up with some thai chiles if desired. In any case, it is

Sizzling Asian Steak Salad

sizzlingsteakI haven’t been great about posting recipes lately. It’s because I’ve been busy, not because I haven’t been cooking. We cook all the time. I think we have some sort of bizarre street cred at Ben’s school because he is always bringing semi-“bizarre” lunches. But I have resolved to continue putting up the recipes that our family enjoys the most for one little reason. Tabby asked me to.

Well she didn’t ask my specifically, but she said something to me a couple of weeks ago about teaching her how to cook and her being about to make food for herself when she leaves our house (she sometimes has strangely long-range planning for an almost-six-year-old). So I resolved to make sure I post the recipes that have caught our fancy and someday, I will make them into a book for the kids.

This recipe has been on our radar for a few months now. It comes to us from one of my favorite food bloggers, Iowa Girl Eats. It is changed VERY little because it is basically perfect as conceived, but I will adjust quantities and some instructions to reflect how we make it.

Sizzling Asian Steak Salad

Serves 4

Ingredients:

For the steak marinade:
1/4 C extra virgin olive oil
1/4 C  low-sodium soy sauce
2 T mirin (sweet Japanese cooking wine)
1 heaping T brown sugar
4 cloves garlic
24 oz strip steak, cut into bite-sized pieces

For the salad dressing:
1/4 C extra virgin olive oil
1/4 C low-sodium soy sauce
3 T honey
2 T lime juice
4 cloves garlic
2 teaspoons fresh ginger

For the salad:
1 small red onion, quartered and thinly sliced
12-16 cups baby spinach (or other lettuce)
1 pint grape or cherry tomatoes, halved
2 green onions, chopped

Directions:

This is a recipe made for the immersion blender! We stick all the ingredients for the marinade (except the steak, obviously) in a bowl and blend until smooth. It makes things super simple. But if you don’t have an iBlender, you can just grate or mince the garlic. Then you place the steak in a bag or a shallow dish and pour the marinade over it. 30 minutes or up to 2 hrs to marinate, stir halfway through. To make the dressing, you can do the same routine as the marinade. Place all ingredients in a bowl and iBlend or you will need to grate or mince the garlic and ginger and then whisk together or shake in a jar.

Once the steak is done marinating, heat a fry pan to medium high and then add the marinaded steak and onions. Saute for about 3-4 min per side (flank gets tough if you over-cook, so don’t!). Remove from pan and set aside. Combine salad greens, tomatoes and dressing (you will probably need less than 1/2 – just save the rest for next time) and toss until coated. Divide evenly amongst 4 plates, top with steak and green onions and ENJOY!

Chicken Stirfry Lettuce Wraps

Well April is almost done and so is my fourth cookbook, Great Food Fast. I have nothing but praise for this cookbook. I loved the full-color photos of EVERY recipe. I love the organization (by season!) and I loved the food. I actually tried EIGHT recipes from this (yay, made it!) book.

and for the finale … Chicken Stirfry Lettuce Wraps. Continue reading “Chicken Stirfry Lettuce Wraps”

Shrimp Curry with Snow Peas

We are getting real close to the end of March! But happily, I’ve been quite good about working my way through Moosewood’s Simple Suppers and we’ve done 5/8 recipes from the book so far (though I haven’t posted one of them). This weekend and next week I’ll wrap up the rest and then it’s on to the Thai Street Food cookbook.

Tuesday night, we made the tasty little curry pictured above. Like everything from this book, it went together very fast. I didn’t think to time this one, but I would bet it was on the table in under 30 minutes. Our rice cooker actually took longer to cook the rice than I did to make the curry. These recipes have all been very doable on a weeknight, which I love. Love. LOVE.

Shrimp Curry with Snow Peas

adapted from Moosewood Simple Suppers

  • 1 lb shrimp, peeled and deveined
  • 5 oz snow peas, cut in half diagonally
  • 1 lg onion, sliced thin (I dice mine as I detest stringy things in my stirfrys)
  • 2 C chopped tomatoes
  • 2 red bell peppers chopped into bite sized pieces
  • 1 T oil
  • 2 T curry powder
  • 14 oz can coconut milk (look for lite – taste is good and way healthier)
  • juice of one lime
  • 1/4 C chopped thai basil, sweet basil or cilantro
  • 1/2 t salt

Heat oil over medium high heat in a large skillet. Add onion and peppers and cook about 5 minutes or until they start to soften and the onions turn translucent. Add the shrimp and curry powder and stir well to prevent sticking. Add the snow peas and tomatoes and cook for a few minutes until the shrimp have started to turn pink. Add the coconut milk, lime juice, salt and chopped basil and bring to a simmer. Turn shrimp to cook to even pinkness. Season with additional salt and pepper to taste.

Serve over rice or maybe noodles.

I loved the way this looked and smelled while it was cooking. Such vibrant colors! When we first served it, it seemed a bit bland, but just a hint more salt really brought out all the flavors and Matt and I both enjoyed it a lot. The kids? Not quite as much … they chowed down on the shrimp and snow peas and liked the sauce, but they were a bit suspicious of the peppers and onions. Tabby is convinced that pepper=hot right now. OY.

Szechuan Beef with Veggies

We tried our first recipe from February’s cookbook this month … Szechuan Beef and Broccoli which I adapted based on what we already had, namely the GIANT bag of stirfry veggies that we buy at Costco and pretty much always keep on hand. The kids already know and love them (they are BIG fans of the baby corn, water chestnuts and carrots) and it’s an easier sell than just broccoli. Tabby is probably the only kid I know who doesn’t like the tree part of the broccoli, but rather the stem. Same with asparagus.

In some ways I’m kind of bummed that I selected this recipe to try. I wish I’d read through it a bit more. It uses bottled sauce and is really really close to what we already make for our weekly stirfry night recipe, just different sauce. But it is a good recipe and it’s a good lesson to me – read these recipes before picking them for the cookbook challenge.


Szechuan Beef with Veggies

adapted from The Biggest Loser Family Cookbook

Ingredients

  • frozen veggies in as large a quantity as you like (we use about 2 cups per person minimum) – onions, broccoli spears, snow peas, baby corn, carrots (smaller pieces), water chestnuts all stirfry well and I’m sure fresh would be good too
  • 4 oz steak per person, cut into thin strips or bite-sized chunks; we opt for leaner meats
  • stirfry sauce of your choice for the kids or spice scaredy cats
  • Sezchuan sauce for spice lovers
  • a small amount of cooked rice to serve alongside
  • 1 tsp olive oil or cooking spray

Directions

To make this SUPER quickly, I pre-cook the veggies somewhat. If they’re frozen, I microwave them until they’re about half defrosted. If they’re fresh, it’s less necessary, but you can still steam them in the microwave a bit. I pour off the excess water as well to speed it up. While the veggies are getting defrosted, spray a big skillet with cooking spray or use some olive oil. Heat over med-high heat. Once the veggies are done, throw them in the skillet and hear it sizzle. Keep them moving as they cook. It doesn’t take long.

When the veggies are cooked, set them aside and make sure your pan is nice and hot and add a little more oil/spray if needed. Place the steak in the pan in a single layer. Cook, stirring around a bit until all browned, about 2 minutes. Don’t over cook it or you will be rewarded with tough beef. Ick.

Return the veggies to the pan and warm everything a bit. If everyone likes the same amount of sauce, add your sauce and stir it up. This is easiest to do in the skillet, but if not, put everything into individual bowls and add the sauce there. Not too much sauce! You can always add more.