The C Word

<whisper>Pssst. Guys … 51 days until … Christmas</whisper>. I know. It seems sacrilegious to me still to be thinking about Christmas this early. I even bought a couple of Christmas gifts LAST MONTH. Like BEFORE HALLOWEEN. I know. *shame*

But. You should see our December calendar. Yes, ALREADY. It’s quite full … and messy! We have a ski weekend, several parties, a turkey-fry with our crazy friends, and even an informational meeting on kindergarten. And of course there’s all the un-scheduled things we need to fit in, like Zoo Lights and gift-wrapping and tree trimming and cookie-baking and mass-attending and caroling and wassailing and one-horse-open-sleigh riding and so on.  So I am already making the list and checking it twice and trying to get as much shopping and crafting done before Thanksgiving as I can. Because come Dec 1, I want to be kicking up my feet and taking it easy.

So. Things I have to do :

1. Christmas shop. This is hard … I will probably place a giant Amazon order, but it’s all the rest that get tricky. Bugging people for lists, running around town. And with the kids it’s the constant battle between having a fun Christmas for them and buying crap they don’t need. Plus I have to help Santa out and keeping that straight in my mind is always tricky.
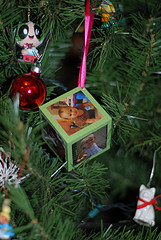
2. Ornaments. Since Tabby was a year or so, we have been assisting her to make hand-crafted ornaments for the family. And we also do an ornament with the kids’ Christmas photo (sometimes we combine them) too. Last year it was glass ornaments with paint markers. The year before that, teeny tiny canvases with Tabby originals painted onto them. This year something new and I think Ben is ready to get in on the act. Not sure if we’ll do one for each to decorate or what. Should be fun … ish.

3. Other craftiness. I have a few projects I would like to complete as Christmas gifts for some people … some pajama bottoms for the kids, and maybe a few other bits and bobbles here and there. I need to figure out what I’ll realistically have time for and make it happen.

4. Calendars. Another tradition since Tabby was a little one is a photo calendar for all of the grandparents and aunts and uncles. It is not hard, but it’s time consuming to do photo selection. Part of me would also like to do some sort of photo book, but as that makes my head hurt, it probably will not happen.

5. Christmas cards!! Part of me says I should just give it up and let Shutterfly or some other service design our cards, but I really like doing it myself. Plus, when I use Premium Postcard, they send them for me. Cheers!

Lots to do … good thing it’s all fun!

Gel Glue Batik

Did I mention how much I love Pinterest? Because I totally do. Of course it’s a timesuck, but I can overlook that in favor of its prettiness. Am I right? Anyhow, before we left for NYC and since we got back, we’ve been working on this craft that I had pinned to my “Crafts for the Kids” board. Tabby loves the Pinterest since she can just pick a picture of what she wants to do.

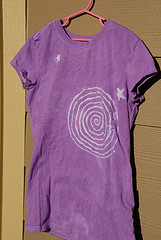
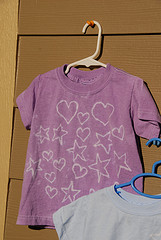
Anyhow, the concept is simple. You put designs on the shirts using the gel glue and then dye them. The gel glue resists the dye and your design shows up white/light on a background of color.

Tips:

  • All tshirts should be washed, shrunk, etc.
  • You will need to cut some cardboard to place between the back and front of your tshirt … if you don’t do this, they will stick together.
  • The resolution of gel glue is not real high, so your designs can’t be too intricate.
  • You cannot use hot dye (no matter what the package says) to dye your shirts. Hot water melts gel glue. We dyed using Tulip Brand cooled down and it worked great.
  • You will have to wash these afterward and they will give off plenty of dye …wash each color individually.

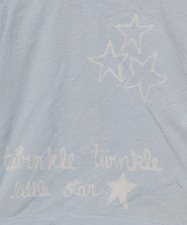
Ben’s has this design on it as Twinkle Twinkle is one of his favorite songs. I did a similar one on a onesie for a friend’s baby that has a sheep and says “baa baa black sheep.” Tabby’s was all her own design, though I executed the gluing for her. She just told me where to place the stars and hearts.

One onesie we did was mostly just squiggles and that turned out great too. The original one I saw was all cursive text which turned out cute too. I’d love to do a running one for myself at some point or an orange one that has “You are my sunshine.” on it with a sun graphic.

These were pretty cheap to make. The shirts I get at Hobby Lobby for like $3.50/ea and my shirt was just a random old shirt I had lying around. Onesies are likewise cheap. $8/3 of them. The gel glue was under $2 and each packet of dye under $3.

Everyone had a great time with this and I’d love to do it again sometime.

Tshirt Dresses

That girl child of mine … she LOVES her dresses. She would probably wear dresses all the time if she could. Well dresses and jeans … she does love her jeans. Anyhow, while we were in NYC I wanted to get her a cute souvenir t’shirt, but I couldn’t find ANY that weren’t A) ugly B) cheesy C) ridiculously priced D) made from terribly coarse fabric. But somewhere rattling around upstairs was the notion that I’d seen on the internets somewhere that one can make an adult’s t’shirt into a dress. So on this leap of memory faith, I purchased a hot pink ladies I &hearts; NY t’shirt for Miss Tabby. The exchange with the Indian (Syrian???) guy at the booth was hilarious. He saw me holding it up to her to see how it would fit and kept insisting he had ones that would fit her better (they had child-esque drawings of NYC on them and were the SCRATCHIEST fabric I’ve ever handled) and I could not communicate that I didn’t WANT them to fit her but finally he let the crazy lady have her way. $8/each and they’re soft, so good bargain IMHO.

So I looked up on the internets how to make the t’shirt into a dress and came across this great instructable tutorial on the matter. I followed it to the best of my rather suspect sewing abilities and produced a fairly decent dress for Tabby. Bolstered my some sewing success (this is rare for me) I decided to dig out an old t’shirt of mine from our “t’shirt quilt” (that I will never actually get around to making) box of discarded shirts and make her a second dress. This one had a much larger logo that would have been cut off by the previous method, so I made a modification. My interpretations for both follow.

Continue reading “Tshirt Dresses”

Oh the Places You’ll Go!

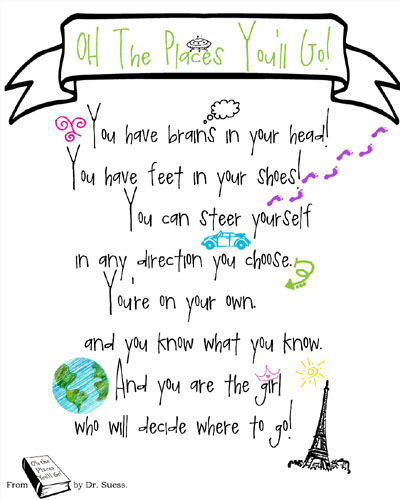
One of our many babysitters (our full-time sitter’s daughter in this case) is graduating from high school. Actually, come to think of it, she’s probably already graduated … but her party is this weekend. We are giving her the graduate standard … money. But I never like doing JUST money. So I decided a nice framed quote from another graduation standard, Oh the Places You’ll Go, by Dr. Suess.

I just typed it out in Photoshop, and using some excellent ding fonts and a couple of graphics decorated it. Praise be to our awesome color printer at work, it came out very nicely. Knowing her style, I think she’ll like it and at very least, she gets a nice 8″x10″ frame to put something else in!

A Little Bit ‘o’ Spring

My darling hubby (who is very sweet and wouldn’t hurt anyone intentionally) had a little misunderstanding with our beloved sitter a couple of weeks ago. He made an off-handed jokey comment to her that she took personally and was very upset about all weekend long.


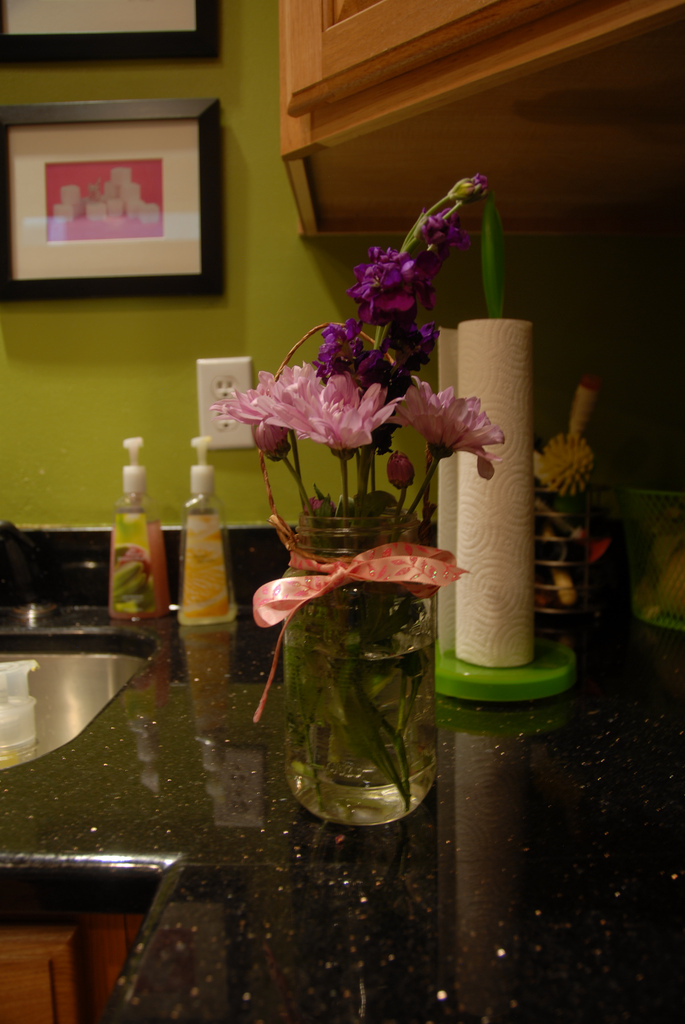
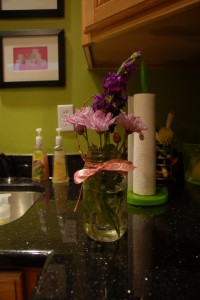
As I said, Matt is not the type to be a jerk even a little. Unless he’s had no sleep and no food and even then it’s just a little. But she was upset and when I told him he felt horrible. So we decided he should bring her some flowers to apologize. I volunteered to make this very cute vase I saw on Makes and Takes.

It’s ridiculously easy to make. Canning jar (whatever size you like) + wire + ribbon = vase. You just wind the wire around the jar underneath the threads for the lid and twist to secure then make a handle out of the wire and hook it underneath the first wire. You can embellish with ribbon or  whatever else anyway you like. I found some great wire that looks like it was wrapped with raffia at Michael’s in their floral dept and Tabby picked out some pretty ribbon to go with. All in all the total cost for this was about $5 … $4 for the wire and $1 for the ribbon (and I could have used ribbon I already had, but Tabby fell in love with one at the store).

I think it turned out lovely and hopefully our sitter will agree.

http://www.makeandtakes.com/sweet-and-simple-mothers-day-vase

Paint Chip Placemats

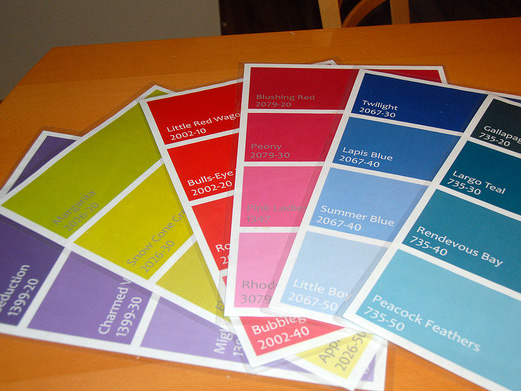
[flickr size=”small” float=”right”]5687169316[/flickr]For the kids’ party I made placemats as party-favors for the guests. Basically I just printed large graphics with the kids’ names on them and laminated them. The laminating sheets came in a box of 100 so I’ve got a few to spare. Somewhere in my travels, I saw mention of “paint chip” placemats and I tucked the idea away in the cobwebby part of my brain. Then with 60+ laminating pouches at my disposal, the idea surfaced again.

So I fired up photoshop and divided off a 11×17″ (300 dpi) set of pixels into 4 rectangles with these white borders (100 pixel width).  Then I filled in the rectangles with the various shades and added text layers for the colors’ names and a phony-baloney paint code below. I bought a few sheets worth of printing from our office color printer and brought them into corporeal being. A trip through the laminator and voila! Placemats!

They look very pretty on our incredibly scarred and scratched IKEA table (now in its 9th year of existence). Tabby always wants the purple one and tries to match/compliment the napkins with the placemats.

Egg Bot – it’s Eggcellent!

Alright, that’s the end of my egg puns, swear. Sorry ’bout that.

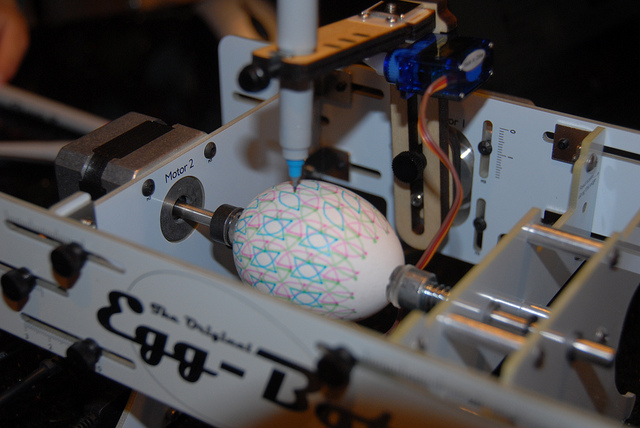
So Tuesday night Matt finally cracked open his Egg Bot and assembled it. According to him it was a pretty easy, straight-forward assembly. No soldering or any of that variety of monkey business, just some screws here and there. You hook it up to your computer and install some software (drivers for the bot itself and then Inkscape, a relatively nice open-sourced vector graphics program for the data to send to the egg-bot). All told, he got it up and drawing in under 90 minutes.

The drawing process is pretty simple. You make vector drawings, each color separated into layers. You then tell the bot to print this layer or that layer. You can swap out pens and get your different colors. The one thing that makes it complicated is that you can’t just “fill” an image. You have to hatch it (draw lots of little lines) for fill, but the bot comes with some good extensions for Inkscape that greatly simplify the process.

The single real “issue” we ran into was with one of the motors. The pen kept falling off the end of the egg and he motor didn’t seem to have the power to bring it back up. It was also making jerky movements and made the first drawings look pretty sloppy. Some online searching netted the answer … we had to increase the voltage to the step motor by adjusting a potentiometer (all that sounds hard, but it just requires a small turn of a screw-driver). Instantly, we had smooth strong drawing.

So instead of cleaning the house last night, we played with the Egg Bot. We made our own designs, simple lines, etc. and downloaded a couple from Thingaverse. It was pretty magical to see the bot do its thing. Tabby was particularly fascinated by it … Ben mostly tried to grab at it.

[flickr]5640024067[/flickr]

Of course it is not without its drawbacks. Matt is claiming that this is his “gateway robot.” Now he wants to build a Maker Bot, a 3-D printer. Pricetag $2K. Yikes.

Recovered Bar Stools

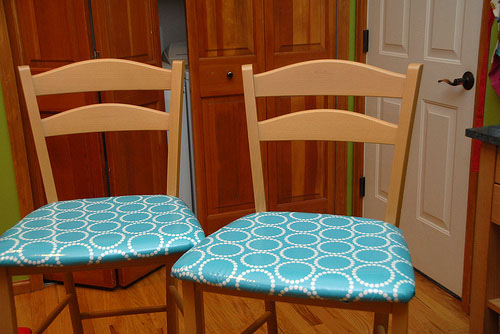
Way back when we were first married and living in Madison, WI, we purchased a set of four bar stools. Being as we had little $$ we got them super cheap – under $10/each from a weird little K Mart style store called Shopko. Our apartment had a breakfast bar and so at first, rather than pony up the cash for a dining table, we at our meals on the stools at the breakfast bar. I’ve always liked them. They’ve got nice simple clean lines.

In our house though we do not have a breakfast bar so we keep two of them in the basement and the other two are in our kitchen as occasional seating. They also get to serve as a landing strip for lots of stuff (bags, laundry baskets, etc.). A year ago or so I noticed that the upholstery was looking pretty bad. Who knows what variety of schmutz had been deposited on them between this and that. Finally I decided to do something about them. The process was pretty simple and I love the results.

Continue reading “Recovered Bar Stools”

B’day T’shirt

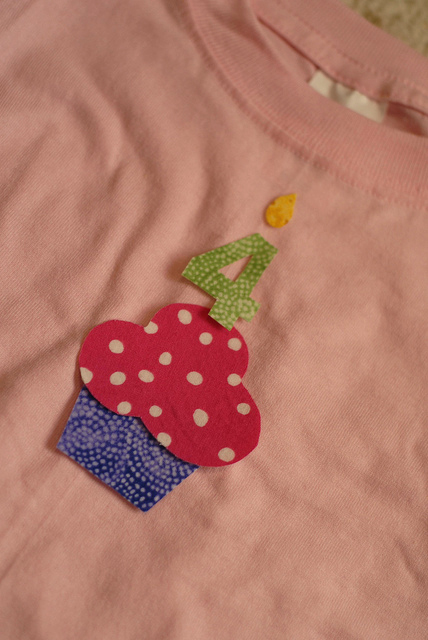
One of the benefits of having a four year old is that she can’t read (well not really) just yet. This makes subterfuge much easier. Not as easy as it was when she was say … 2 but you get the idea. Thus I can make AND display her birthday t’shirt before her b’day without much risk of being found out.


So the t’shirt … it’s applique. I don’t know about that word. It just sounds old fashioned and dowdy to me. Kind of appropriate, actually, since a lot of the applique you see, even on the ‘net is just that: old fashioned and DOWDY. But it doesn’t have to be. The design is the big ol’ lynch-pin. You have to have a cool design. More on that in a minute. First, what you need.

  • cool design
  • scrap fabric in appropriate colors/patterns (cotton, light weight) … all pre-shrunk
  • surface to applique on (should be easy to get to the back – pockets are a bit hard, at least if you want to use your sewing machine) – pre-shrunk as well!
  • iron-on interfacing
  • sewing machine
  • coordinating/contrasting thread as appropriate Continue reading “B’day T’shirt”