Crafty Plans

What happened to summer? How are the kids back to school and the trees turning already? HOW? Oh right … it went buy in a fabulous blur of swim lessons, weekend trips, sweltering days (still here, unfortunately) and frozen yogurt. It was nice! But it was busy.

Now I am looking directly at an entire three-day weekend … a weekend where we are not traveling, a weekend where we don’t have too much planned. YAY! I am hoping to get some things sorted out around the house, like my insane “office” (aka. the dump) or the ever-present evolution of children’s clothes and toys or Tabby’s still-broken shelf.

But I’d also like to do some fun little projects too: Continue reading “Crafty Plans”

Up!

Last Tuesday was L-day … as in Launch Day. The kids had been looking forward to this for quite some time. It was the day we would set off the air rocket they built with daddy.

The concept of an air rocket is pretty simple. Rather than having some sort of slow burning onboard fuel, an air rocket is all the initial thrust. You use a cylinder to capture air at high pressure. The pressure comes from a standard bicycle pump. You then release the pressure suddenly, expelling the air straight up and into a rocket made with paper and reinforced with painter’s tape.  NASA has a good description of some of the physics.

Continue reading “Up!”

Digital Scraptitude

So long ago I used to do the paper scrapbook thing … sorta. But I’d already been doing the digital image thing for long enough that the messiness of paper scrapbooking really bugged me. I also never liked the “overhead” involved in picking up and putting down a project. Digital is just my thing. So when Tabby was born, I tried to do some digital scrapbooking and I didn’t get too far. It was a good idea, but a few things plagued me. 1. I went too crazy and I got discouraged. I wanted to have all the photos and when I couldn’t find one, I’d get frustrated. And I wanted all my layouts perfect and super creative like the ones I saw online.  2. I got overwhelmed by volume – too much to catch up on!  3. I really didn’t have the time. Continue reading “Digital Scraptitude”

Working for the Weekend

It has been such a long week! And it’s only Wednesday! I think it’s partially because I brought my work home with me Monday and worked into the wee smalls. Our sitter is also off for the week, so we are juggling around three different sitters over four days and some craziness that goes along with that.

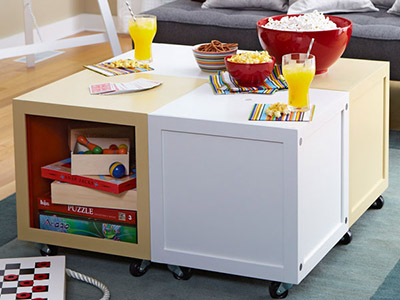
So I am looking forward to the weekend. It is not CRAZY busy. We just have two parties to go to, and some little visitors on Saturday morning. And maybe a third party, but that hasn’t been confirmed yet. Not too bad, right? So I’m looking forward to a little time to get some things done around the house. We need to make a run to Good Will. A few weeks ago we did some purging of toys from the kids’ rooms and held onto the spoils until we made sure they weren’t going to miss them. They are going away this weekend along with some clothes, books and magazines and other random stuff I’ve been gathering.

I’d also like to tackle one or two projects around the house. There are some that are already in the queue, like fixing Tabby’s shelf and making Ben’s decorative shelves, and cleaning out my office and some others I’ve only been dreaming of. I saw this awesome backyard sign featuring places you’ve been on Pinterest and I really want to make one. Matt and I also want to cover a corkboard with a map of CO so that we can add pins to all of the camping/vacation destinations we’ve been to around the state.

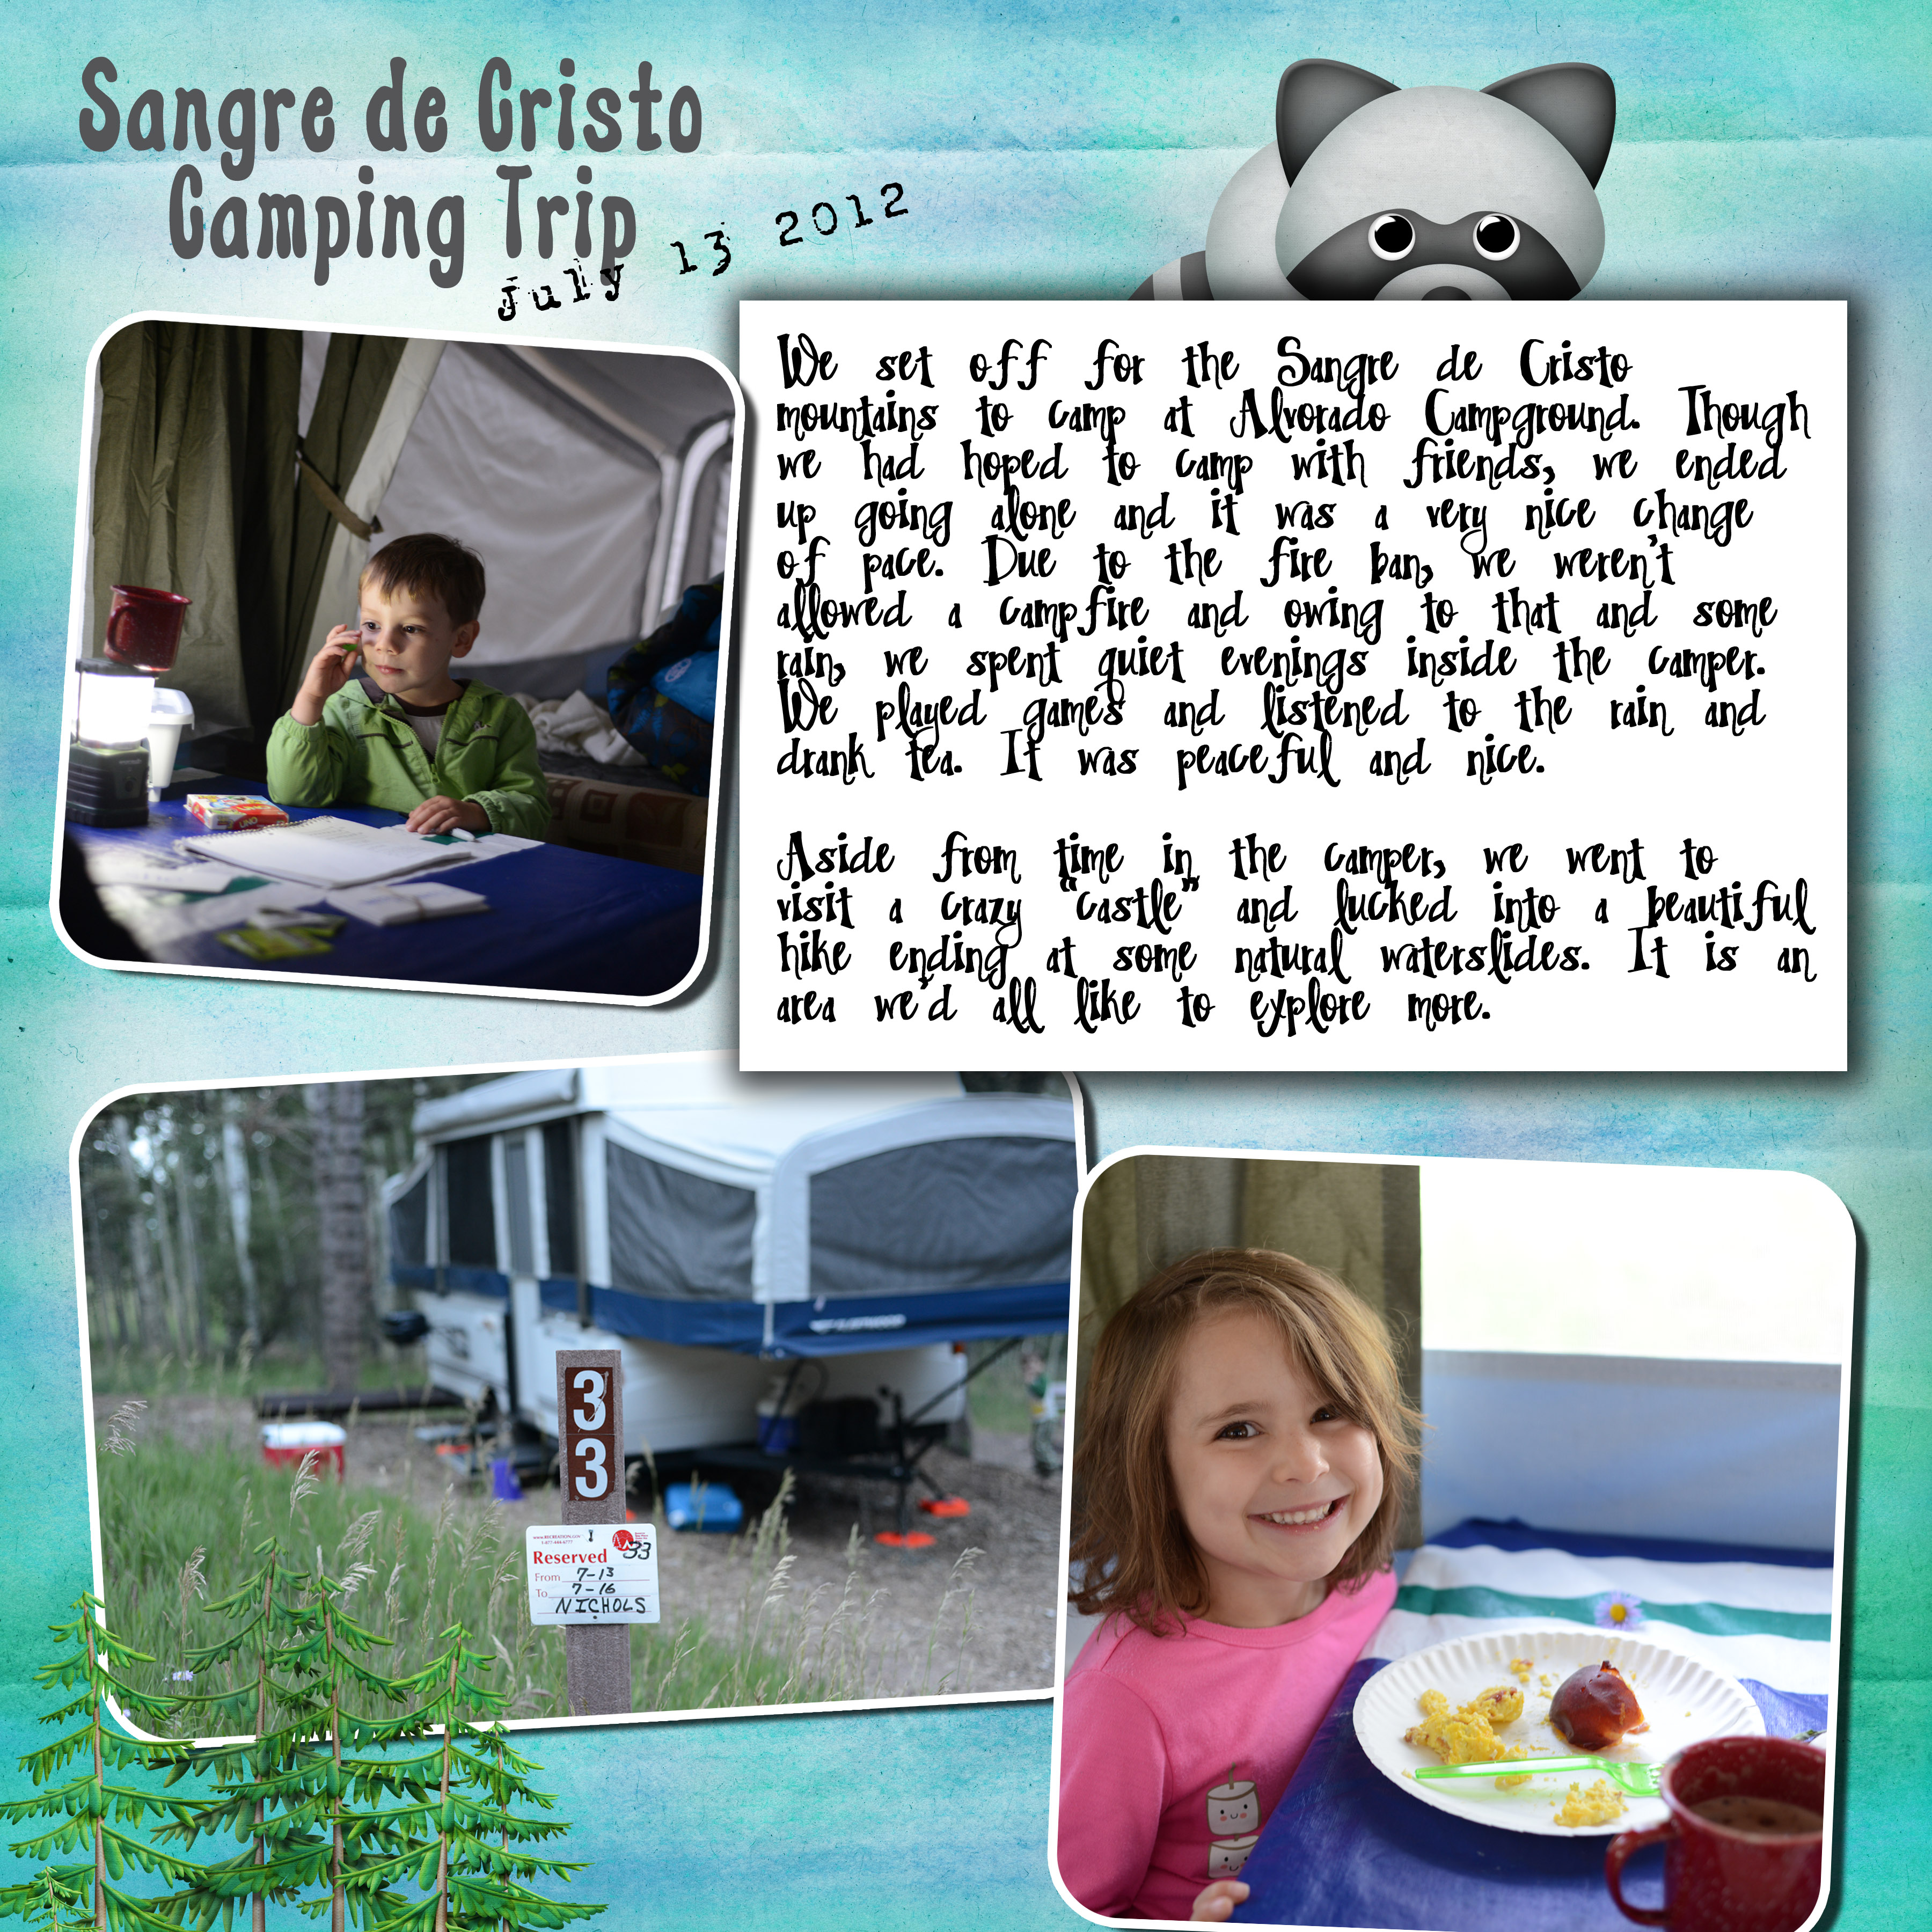
There are also a couple of stores I’d like to check out. Apparently there is another great fabric store in the area, Fabricate, that I would love to check out. I’m toying with the idea of covering our camper’s dinette cushions with oilcloth or similar since (ahem) kids eat there. Athleta, purveyor of my favorite clothes also just opened a retail store in Denver and I’d LOVE to check that out.

I am NOTHING if not talented at jam-packing a weekend.

PVC Pipe, Physics and Flying Marshmallows

This weekend we not only gave the kids guns … we made them for them. While at Maker Faire, Matt and I succumbed to the pretty displays and bright lights and allowed Tabby to bring home a Marshmallow Shooter kit. I had no ethical qualms about this you understand – just financial qualms over paying $20 for a few bits of PVC. But it was a neat souvenir and since we got home she’d been begging to build them.


So when we knew we’d be at our friends’ house all evening on Saturday I grabbed a bag of mini marshmallows at the store and we brought the kit with us. This is a ridiculously easy kit to put together. You just snap together a few pieces of PVC and err … that’s it. You load a mini mallow into the mouthpiece of the shooter and puff some air in and it zooms off at an impressive speed. As they’re marshmallows, the projectile doesn’t really hurt anyone. The dads got into it big at the BBQ and kept shooting the kids who would then look down for the marshmallow and eat it.There also may or may not have been a shootout at our house between my sister, Matt and myself after the kids went to bed and everyone else had gone home on Sunday night. I’m not at liberty to say.

If you want to build your own marshmallow shooter, and I recommend you do because they’re all kinds of fun, here’s an instructable to show you how to do it. Though even that isn’t really necessary. You take 1/2″ PVC pipe and connect it with Ts and elbows and such until you have the configuration you want. You have to have only two open pipe ends one for blowing air into and one for the marshmallow to exit and you can do just about whatever configuration you want and see what works best. Don’t glue the PVC – not only is it unnecessary but PVC glue is pretty toxic and definitely something you want to avoid if you can!

San Fran Days 2 and 3 – Maker Faire

Before I get down to telling you all about Maker Faire, another reminder to enter The Giveaway to Uncommon Goods for $50 towards any of the great things they have to offer.

Now now now, on to Maker Faire. The fair organizers, Make Magazine, bill it as The Greatest Show and Tell on Earth. And that’s a pretty good description. Everywhere you look you see AMAZING things that people have built.

This incredible invention, The Ragtime Castaway Band, welcomed everyone to the fair (did I mention we were there at opening both mornings, waiting on the countdown? yea. we were) with its music. It is a robotic band contained in a hut. All the instruments you see above hang form the ceiling of the hut. There are a few other instruments surrounding the edges on the ground. They are all controlled robotically and they play some really fine music. Just in case you were wondering, the first tune of the morning was the Original Star Trek Theme. Very appropriately nerdy. Continue reading “San Fran Days 2 and 3 – Maker Faire”

Photo Hanging Board

First, I must say, this isn’t really my project. This is Matt’s project. Inspired by a few things, including the jewelry boards we’ve made before, but equally by this pin from a house tour on Design Mom, I asked Matt if he would make me a large board for our dining room where we could hang photos. Matt was more than equal to the task and worked at this diligently in the bits of spare time he comes up with. It is a very nice frame and the chicken wire is recessed (rabbited) into the back of the frame so it all hangs nicely on the wall. It looks even better in person than in this photo.

I love any photo display solutions that are easy to change out. Frames are nice and all, but I am terrible about going through the effort to pull them down, open them up and change out the photos. Then our house ends up with tons of photos of the kids at one age because that was the last time I did photo framing. And displays like these go very well with our house’s design aesthetic. This is in fact, replacing one such display, our photo line. It was great … but I think this is better.

I won’t even begin to tell you what Matt did in his woodshop to accomplish this because I have no idea. But you could achieve a similar look by using canvas stretchers (from your art supply store) as we have done with our jewelry boards. You glue them together, stain, attach chicken wire to the back and hang. Voila!

A huge shout out and hug to my awesome hubby for making this happen!!

Nannersp
Visit Nannette’s site and check out the other great Pinteractive projects.

Spray Painted Folding Chairs

One of the best things about Pinterest are the really great, yet really SIMPLE ideas that you see there. This is one such idea: to paint your ugly folding chairs in pretty colors with spray paint … DUH! I saw this pin sometime last fall and sometime thereafter, executed it on a couple of the army of ugly beige folding chairs we’ve had since college. I am not going to post directions because umm… you spray paint folding chairs. Obviously, you should do it outside or in a well ventilated area and you should put something down on your surface to protect it. Oh, also, we got a cool gadget that you put on top of the can of spray paint and it makes it a lot easier to spray because you squeeze it with your hand instead of pushing the little thing on the top.

This would be a great project to use up some spray paint that you used just a bit of for another project. It takes quite a bit of paint, but not quite a whole can.

The chairs, even after some months of use, still look great. Both kids have their own chair and now they are not ruining our upholstered chairs! I still want to do a couple other colors and probably will soon now that the weather’s warmer.

Nannersp
Check out the other great Pinteractive posts on Nannette’s site!

Washer Necklaces

It was a pretty good weekend, overall, but there was some more mischief about in our ‘hood. More on that, tomorrow, probably. But for now, something fun. Washer necklaces!! I’d pinned this cute little craft for making necklaces out of washers … but it was a bum pin and ended up leading nowhere, so I googled washer necklaces and came to this site with a great tutorial. You don’t need much to do it (I actually had everything on hand after stealing a couple of things from Matt’s woodshop).

Here’s what it takes:

  • washers, whatever size you fancy
  • scrapbook paper … smaller print is better
  • adhesive to affix paper to metal (I ended up using some kind of fabric adhesive, but the site recommends E6000 which would be good too)
  • sandpaper
  • an exacto knife
  • dimensional medium
  • cord to string it on

Here’s how:

Continue reading “Washer Necklaces”

Mini Photo Book

This little project was inspired by a few different pins, but particularly this one who links to this great site, Printstagram, where you can turn your Instagrams into cute little books! Well SOMEONE can, but not me because Instagram has not yet come to Android (though I hear it is imminent!). Anyhow, not enjoying being left out of the cute little book party, I decided to make my own.

I started out by making a template  in photoshop: 3 rows of 4 2-inch squares and 580×580 photos that fit handily into the squares with just a nice little white border. Print and cut out. [wpdm_file id=1] Continue reading “Mini Photo Book”