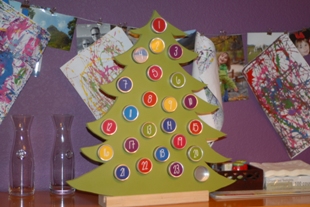
 We have had a couple of advent calendars … a string of mittens and stockings that you can fill with things and an angel one with pockets from my childhood. But neither was utilized very well and neither really fits the aesthetic of our house. So this year, inspired by (as usual) Pinterest, I conned Matt into helping me make an advent calendar. My first idea was to use a piece of metal and get a few of those nifty magnetic tins and stick ’em to it. I’m sure it would have been easier, but those dang tins are EXPENSIVE (at least any I could find). But 24 of these from Hobby Lobby were ~$20. The board and spray paint another $20. For $40 it isn’t the cheapest, but I do hope to use it for years to come. Here’s how we did it.
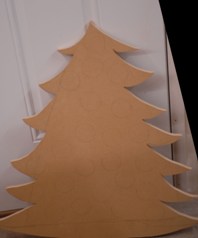
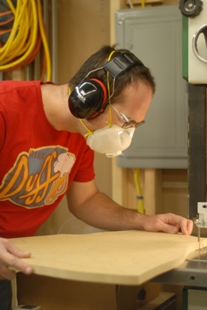 I started by free-handing a tree on to the MDF (medium-density fiber board – it has a nice smooth finish, good for a project like this – also CHEAP!). Then I placed the tins and drew circles around them to ensure I had enough space. Matt then used his band saw to cut it out. I think he had to finish up some cuts with the jig saw too and really the whole thing could be done with a jig saw (they are little and cheaper and good for folks w/o a woodshop).
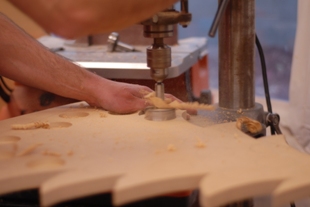
Once the tree was cut out, we used some boring (fostner?) bits in the drill press to bore out indentations for the tins to sit inside. I got to wield the shop vac for easier cleanup. I think this could probably be done with a hand drill as well, but the drill press has advantages of course like being at the proper angle at all times and an auto stop so our holes were all the same depth.
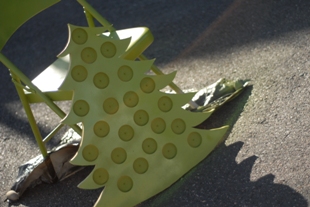 Then of course we had to spraypaint the heck out of it. I’ve had designs on making over our ugly folding chair collection as well, so I did one of them while I was at it too (more on this later, probably).
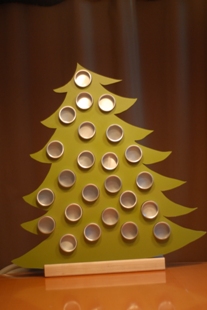 After it was all painted, we used some Gorilla Glue to attach the tins into their holes. Gorilla glue bonds well to both metal and wood so it was an ideal choice. It’s a funny glue because you have to get both surfaces wet and then clamp the pieces together. For us, clamping meant setting gigantic engineering text books (knew we kept those darn things for a reason!) on top of the whole affair and letting it dry overnight.
Lastly, I made a bunch of circles with numbers in them in Photoshop and taped them into the lids of the tins to show through and countdown to Christmas. Of course the tins still need to be stuffed … I plan to do mostly activities (crafts, books, movies, baking) but I think a few of them will contain candy as well.

SUPER CUTE!! Turned out great! Do you ever peruse the scrap wood pile at home depot? I picked up three pieces of wood for 51 cents a piece, exactly the size and shape I needed! They also have that great ‘oops’ shelf in the paint dept. Great way to get some super cheap paint! They had all three colors I was looking for last time I was there!
I knew about the paint (haven’t taken advantage of it yet!) but I had no idea about the scrap wood. Great to know, thanks!! Though of course Matt’s woodshop has a big ol’ scrap wood pile too. 😛