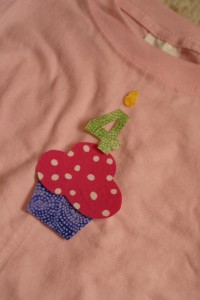
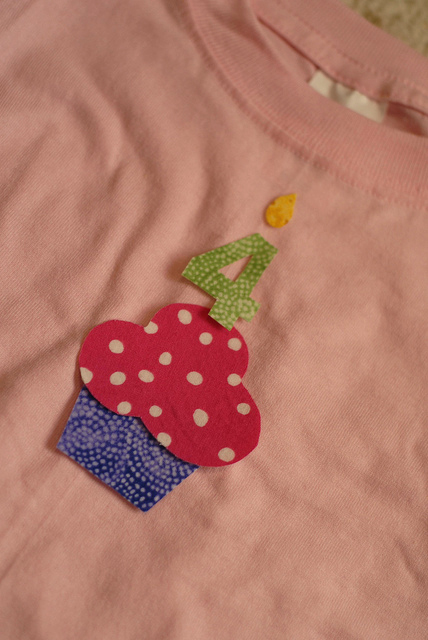
 One of the benefits of having a four year old is that she can’t read (well not really) just yet. This makes subterfuge much easier. Not as easy as it was when she was say … 2 but you get the idea. Thus I can make AND display her birthday t’shirt before her b’day without much risk of being found out.
So the t’shirt … it’s applique. I don’t know about that word. It just sounds old fashioned and dowdy to me. Kind of appropriate, actually, since a lot of the applique you see, even on the ‘net is just that: old fashioned and DOWDY. But it doesn’t have to be. The design is the big ol’ lynch-pin. You have to have a cool design. More on that in a minute. First, what you need.
- cool design
- scrap fabric in appropriate colors/patterns (cotton, light weight) … all pre-shrunk
- surface to applique on (should be easy to get to the back – pockets are a bit hard, at least if you want to use your sewing machine) – pre-shrunk as well!
- iron-on interfacing
- sewing machine
- coordinating/contrasting thread as appropriate
I choose to make mine … or possibly cannibalize and rework ideas from around the nets and like clipart and stuff. You’re basically just trying to come up with the right shapes. So you sort of layout your design in some graphics program. I like Fireworks because it’s super easy to work with vectors in there. You can lay down a photo and trace shapes or tweak text, etc. Here’s what I came up with:
[flickr size=”small”]5490415941[/flickr]
So start by printing your design out to scale – black and white is fine of course. Then you cut out your shapes.
[flickr size=”small”]5490416189[/flickr]
Next, match shapes to your fabric scraps, thinking about the overall composition. You want certain colors and textures for each piece, right? Next comes the assembly bits. Iron on one side of the fusible interfacing.
[flickr size=”small”]5490416665[/flickr]Once you have the interfacing on, hold or pin the paper template over the fabric and cut it out. Don’t forget to turn the paper template over or you’ll end up with a backwards design! Then you’ll need to peel off the piece of backing on the interfacing and iron it on to your work piece. If your design has no overlapping edges, you can iron on all the pieces at once. Then to the machine to sew around the edges. If you have a design with overlapping, I find it much easier to iron on just one piece, sew the edges, swear at your sewing machine, sew some more, then go back to the iron, add on, then sew again, etc. It just works better for me.
I like a zig-zag stitch for the edges … looks kind of interesting. If the piece is really narrow, sometimes I just use a straight stitch or zig-zag up the middle. Sewing narrow things is frustrating (at least for me). Sometimes, a piece calls for a bit of decoration (the lines on the cupcake wrapper for example) … you can use whatever stitch is appropriate. You can also do some hand-embroidery to add a bit to it as well. French knots make excellent eyes and noses on animals.
[flickr]5490418403[/flickr]
I sure hope she likes it!!! 🙂

