A Weekend in the Shop

2016-05-14 18.31.11

This guy had a birthday last week.

2016-05-09 19.43.09-1

It was a pretty fun affair if fairly low key. He got new sheets and a new backpacking chair (which hasn’t actually arrived yet) and he got to hang out with these weirdos and drink homemade lemon cream soda (delish).

But my other gift to him was taking a whole Friday off to hang together. And it was pretty awesome.

See we needed a new patio table. We had one from our old house, but it was just a little too wide to really fit our somewhat narrow porch. And as “luck” would have it, a crazy windstorm picked up the tiles that made the top of the old one and smashed them into the railings and floors, breaking all but 2 of them. So while the table frame was fine, it needed a new top and we were ready to say bubye to that table.

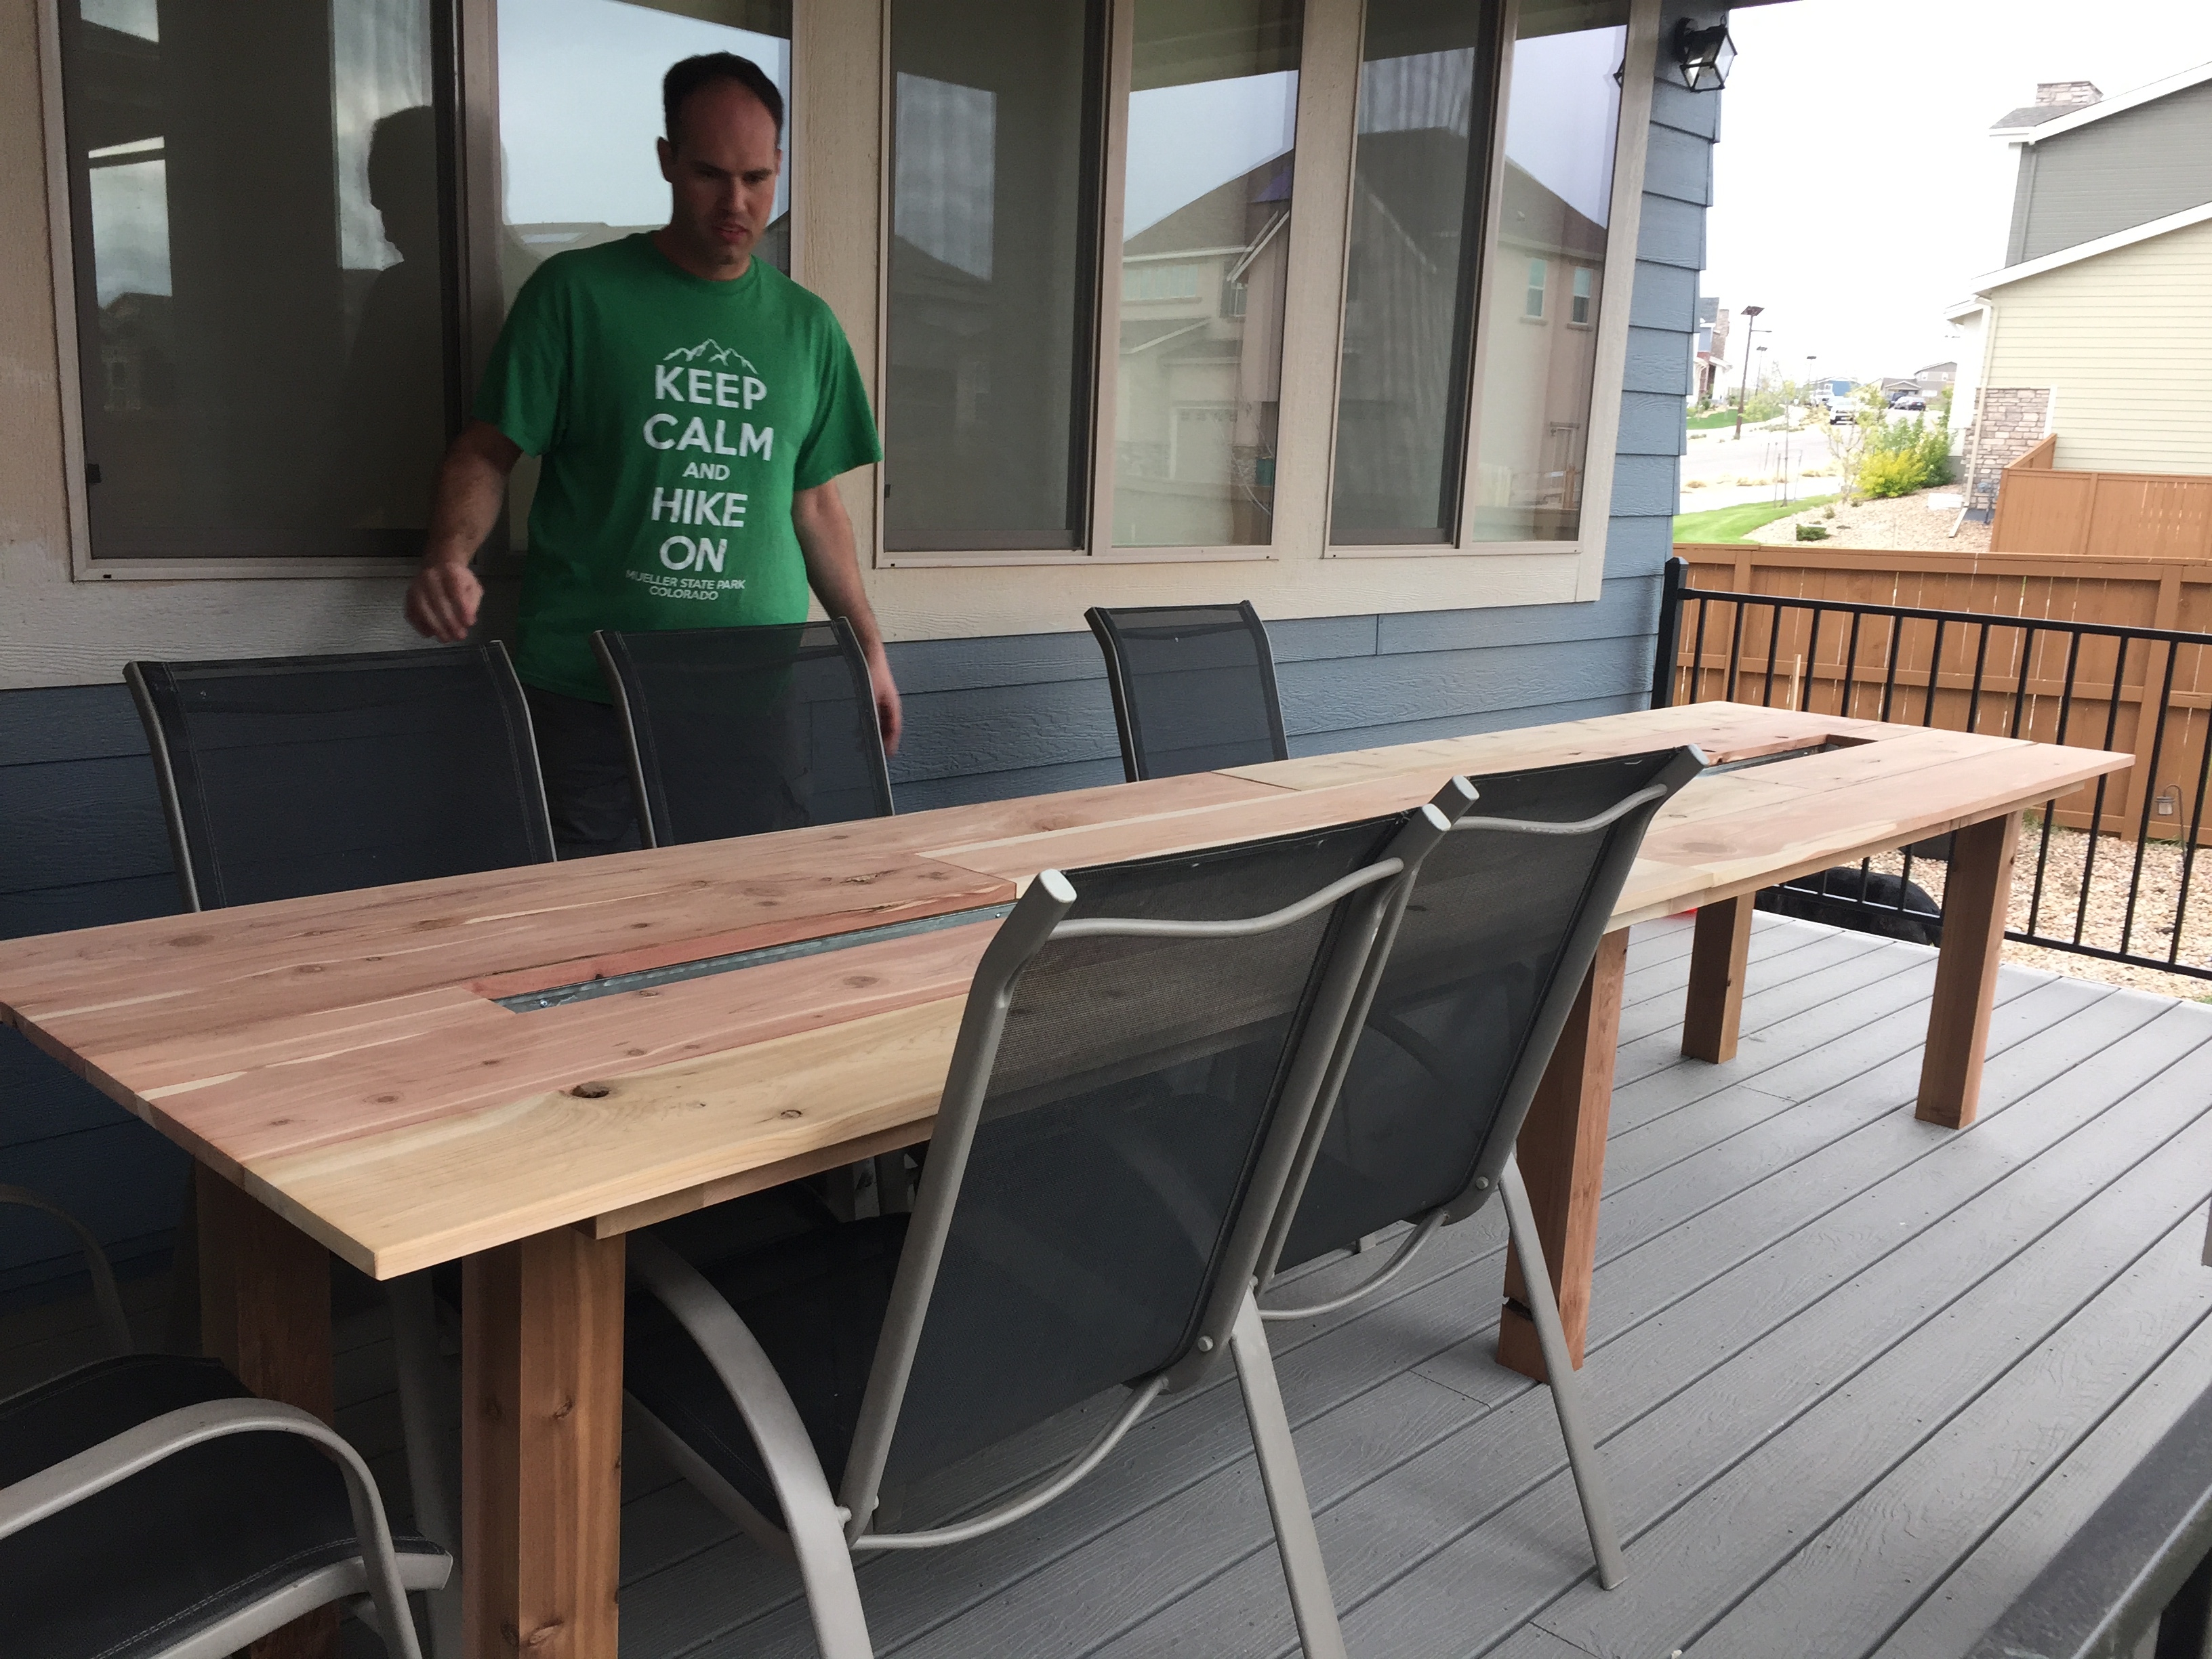
I designed this new one sometime last summer before the other one was destroyed. It’s almost 12′ long and as we plan to have 4 benches (2 per side) and 2 chairs on each end, we can comfortably seat 14 people. Not too shabby.

2016-05-14 18.30.28

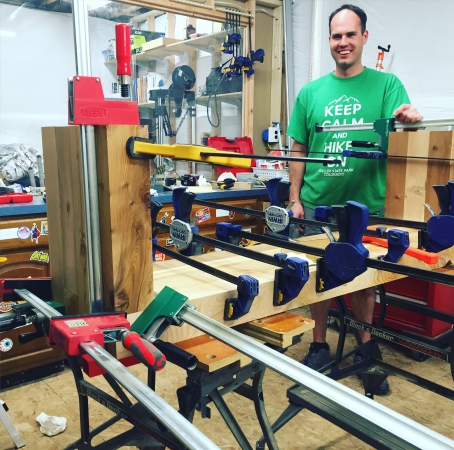
Matt and one of his friends have been working in his wood shop by night, toiling on our new patio set and on our friend’s new coffee table. We had friends coming over that evening and had created an artificial deadline of having the table done when they arrived, even though the forecast said it was supposed to be cold.

But artificial deadlines are great and we got down to business making the table. The guys already had the frame built, so we just had to add the top. It seems easy, but it was quite a bit of work, let me tell you.

I got a real appreciation for the work Matt puts in in his wood shop, that’s for sure. Each board has to be properly dimensionalized (made perfectly square and into the correct thickness) which is quite a lot of work, running it multiple times through two different machines since each pass can only take off a fraction of an inch at a time.

Then you have to cut it to size (on one of 2 or 3 different saws) and attach. The attaching part on this is actually “simple” compared with his normal work. He regularly uses complex joinery (not screws) to attach pieces. This one has carefully hidden screws instead since it’s less “fine” woodwork.

Finally, you must finish – that’s at least 3 rounds of sanding (everywhere!) and then using some variety of finishing solution on it – stain, sealer, oil, etc. then sanding again, staining again and sanding again. You can do this a couple more coats if you want to depending on the finish. This is the part I regularly help with, so I’m very versed in it.

We didn’t get past the first three rounds of sanding (still not done) but it was fine to eat off!

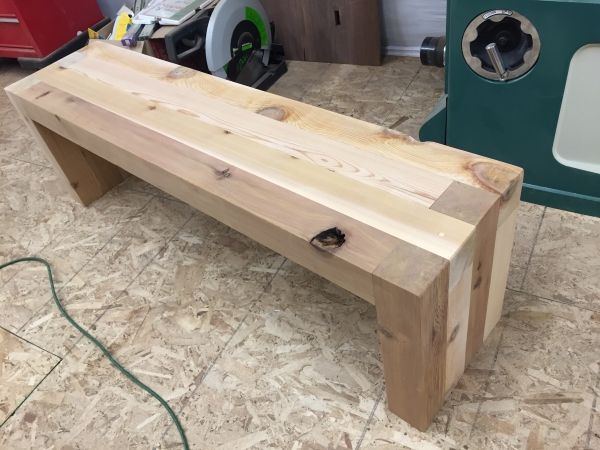
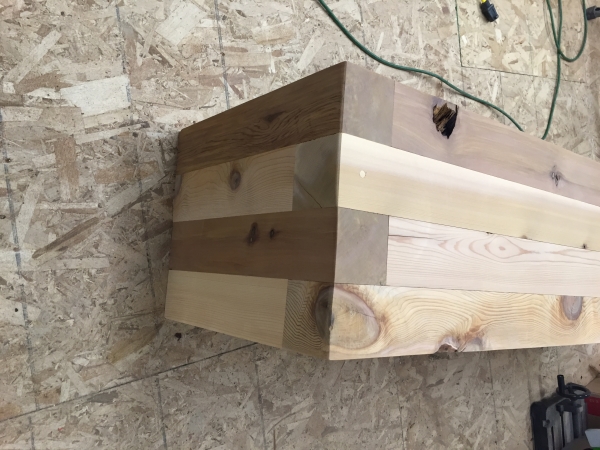
You might notice the middle looks kind of strange – that’s a trough that runs up the center. You can put ice in it for drinks (like so), or add river rocks and sterno cans (like so) for table top s’mores. Also, if we end up hating the idea, we can pretty easily run narrow boards down the center and just finish it off.

Anyhow, that was day 1. I fully expected to be done, but inclement weather caused our friends to cancel the hike we had planned and so we decided to get going on 1 of the 4 benches.

2016-05-14 18.26.47-1So we did. More dimensionalizing, cutting to size.

And then gluing! It seems so strange that something that we sit on (several of us, actually) could be held together with glue, but that’s the deal. I suppose there’s also some dowels and strategic structure choices, but mostly, it’s glue. Crazy.

2016-05-14 21.03.20

But it turned out great! Check it out!
2016-05-14 21.03.27This guy actually required even more sanding than normal because we were sanding several disparate pieces of wood to perfectly flat and it’s not much difference (less than 1/32 in most cases), but it’s a lot of sanding.

Love how it looks though!

2016-05-14 13.20.48-1

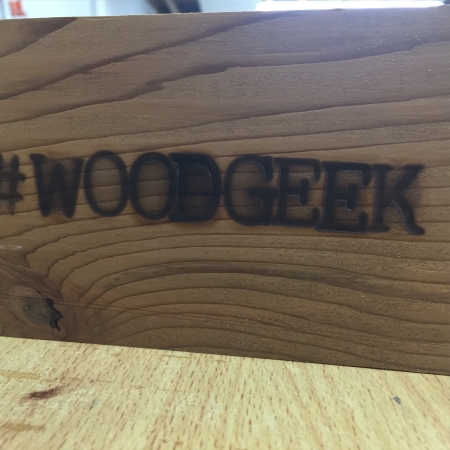
And here’s the other little thing I worked on … a little sign for Matt’s shop. My woodgeek. 😀


Home Things

2015-01-11 10.40.37-1We’ve been on quite a roll with getting some little projects around the house done. It’s a nice side effect of the aforementioned actually BEING at home more often. I love seeing the results of these little projects.

2015-01-11 10.08.26The first photo is the fruits of these labors … the kids putting together a storage cart from IKEA. The idea is to store their school/homework supplies in it and then they can wheel it out into the living space when Matt is busy on conference calls, etc. We have yet to stock it, but that is the IDEA.

2015-01-10 20.27.37Another project we tackled was turning this unholy mess on top of the washer/dryer into something you might want to actually use.

2015-01-10 21.37.12Like so. That’s a $16 piece of melamine mounted on 4 brackets from IKEA. It’s not gorgeous or anything, but it really does the trick. We actually have a second shelf waiting in the laundry room for later when we have brackets to mount it. We somehow thought we bought enough for 2 shelves, but that wasn’t the case. At some point in time, I’d like to add a spot for line dry/flat dry items, but for now our beds and closets work just fine.

2015-01-18 09.45.11_crop

Moving right along. In the playroom we installed these shelves specifically to hold Ben’s Lego collection. These are at great peril when we have small-fry company so this system keeps them out of small hands until we can grant permission.


2015-01-18 09.39.35_fixed

We also decided to doll up the spot in the office above the big work desk with shelves (months ago) and now a triptych of magnetic boards. These will hold kid artwork and papers, particularly of the  “here’s the instructions and password to log onto this textbook’s site” variety.

2015-01-10 20.26.27Lastly – and this is probably the project I’m most proud of – we reorganized some of our kitchen drawers. I don’t think this looks awful, but the functionality was TERRIBLE. That tray thing is about to fall apart and it raised everything up just enough that it continuously caught when we shut/opened the drawer.

2015-01-10 23.55.17

For about $30 we bought supplies from Home Depot, 4’x2″x1/4″ craft board that we cut to size and some loc-tite adhesive that we put everything together with. They’re not attached but just slip into the drawer so we can easily remove them if we want to. And they look AWESOME.

2015-01-11 12.03.11It is amazing too how much better things fit in the drawers. Without the bottoms and extra sides to hold them together, we can get 24 sets of flatware in this drawer that only used to hold about 16. We wanted to do a couple more drawers, but ran out of materials. Maybe next weekend.


Kitchen/Dining/Mudroom Update

2It occurred to me last night while typing up my post on our pallet flag that really, quite a bit has happened in the kitchen/dining/mudroom area over the past two months that I should share. I am really loving how this space is coming together. I feel like I’ve achieved the look we were going for and infused a fun bit of color – so so important for me!

1

Almost immediately after I hit publish on the last post about this area, our friends came over for dinner. This particular friend is a construction guy and when he found the pendant lights hanging around in our pantry, he insisted they had to go up right then and there. So they did!

The old pendants, apart from being pretty non-descript (white glass, brushed nickle, on chains) seemed way too dainty for  our long island. They were just 4″ wide whereas these beasties come in at a beefy 10.25″ diameter. And of course being my signature green color and just $23/ea made them a slam dunk.

We also were happy to replace the ancient bar stools that were both 12 years old (!!) and too high. Those puppies actually came from Shopko for a whopping $10/ea and were the first furniture we bought in our apartment in Madison, WI! They’d been recovered and abused and owed us nothing, especially after Ben smeared frozen berries all over one of them. Oy.

I searched LONG AND HARD for a new ones. I knew the ball park of what I wanted (modern, no upholstery, maybe slightly industrial) but it was hard! I refused to pay an arm and a leg for the darn things but even looking at IKEA revealed that bargain basement (i.e. nothing you’d want) were $70/ea and anything that would last more than a few months was going to be at least $150/ea. I gave up for a while and then on a random search for “wood and metal bar stools” turned these up. Don’t get your hopes up – they’re not cheap – but I did get them on decent sale and I was able to pick them up at the West Elm downtown so I at least didn’t have to pay shipping.

They look great and clean up well after the kids smear yogurt on them.

mudroomMoving right along, the mudroom is all but done. I added baskets for our junk and a nice throw rug and some other little touches (hooks in our cubbies for our keys, a fake plant and a coin can). We still need doors to close in the cleaning closet and we’d like shelves for our shoe cubbies, but we are not in a big hurry.

flagAnd one last up-close-and-personal look at our newest addition to the dining room – the CO pallet flag. LOVE IT!

Our House Right Now: The Great Room

great1greatroomThe great room is a big work in progress, for sure. It still has quite a few boxes, mostly of artwork, photos and A/V equipment that we need to deal with. But this house has less wall space, so we’re biding our time, figuring out where the best things go and then we’ll have to make some decisions about the others.

great2

The great room is again where we ended up condensing two rooms from the old house into one room here. Our mostly unused living room merged with our oft-used family room and here’s the result. Couch for TV viewing and socializing, fireplace for coziness, piano for playing, a cozy chair for reading and for good measure, the Mad Men bar cabinet that used to be in Matt’s office.

We got an odd bonus in this room when our builder decided to tile past the mantle straight to the ceiling. We hadn’t spec’d it or paid for it, but we got it anyhow and we do think it looks nice. It did make mounting the TV a huge pain in the arse. Oh well.

Done

  • Mounted the TV
  • Installed the window coverings (7 total!!)
  • Cleared out a ton of stuff

To D0

  • Hang artwork (sooner)
  • Clear out other random boxes (sooner)
  • Program the motors on the shades to work from remote control (sooner)
  • Fix the wiring to the subwoofer (sooner)
  • Throw pillows for the couch for color (whenever)
  • an area rug (whenever)
  • Paint the piano (later!!)

Yes, you read that last one right. I think I’ve decided to paint my grandma’s piano. I like the dark honey wood better than I expected to in this room, but it’s not my favorite and I do think we could use a big pop of color on that wall. I want to live with it for now and try infusing color in other places first. I might even just start with upholstering the bench.

Our House Right Now: The Office + Foyer


office1

study+foyer

office2

The Office

I’ve mentioned before that we actually ended up condensing some rooms when we moved from our old house to this one. We no longer have a family room and living room, just an (albeit larger) greatroom. And likewise, Matt and I no longer have separate offices, we now share one. Granted, this is not much of a sacrifice. I have a  lovely office that is 100% my own at work so my use at home is limited to when I want to do crafty things and when I need to work at home for work.

office3

The office was pretty much a blank space, but we considered carefully and figured out what we wanted to do with the space: comfortable work area for Matt, occasional work area for myself and the kids and storage of all office/crafty stuff for the house. We bought the cabinets a month or more before we moved, on a Discover Card bonus 5% back and stored them. Assembly/installation was easily the biggest task in this room, but it’s done now and the room is otherwise progressing very well.

Done

  • Assemble all cabinets
  • Hang/install all cabinets
  • Unpack/fill/organize all cabinets
  • Setup two desk areas
  • Search madly for a bookcase because (wow!) we still have a fair few books and get that in place
  • Unpack the books
  • Install window coverings
  • Hang photo board (from old dining room)

To Do

  • Finish up the unpacking/organizing the remaining random stuff and clear surfaces!! (sooner)
  • Construct and install the barn door! (sooner, hopefully)
  • Find a pair of chairs for either side of the work surface (sooner)
  • Add floating shelves and maybe a set of drawers above the work surface (sooner)
  • Hang some more art on the walls (whenever!)
  • Maybe add some floating shelves above Matt’s desk (??)
  • Rug??


foyer

The Foyer

I debated even putting this “room” on the tour because it’s hardly a room and pretty lackluster at this point. That said, however, I like this little entrance area and it has nice potential. Despite the fact that it spans both floors, it doesn’t feel too grand and it’s not overly big, but has a good feel. In the photo, you can see the front door and the window to its right. To the right of that is a very nice coat closet that is currently being used to store random things like the tools we’re still using to put up this and that. The wall on the left side is the office and it will eventually have the barn door we’re building. Behind me as I’m shooting this, it opens to the great room and kitchen.

Done

  • Put up window covering
  • Disperse the tons of junk that collected there while we were moving (the pile was WAY higher!)

To Do

  • Finish up with the boxes (sooner)
  • Think this area needs a nice rug … not sure what (whenever)
  • Place shoe rack for guests (sooner)
  • Maybe some art?? (whenever)


Our House Right Now: Kitchen + Dining Room

kitchen + diningkitchen2The house tour continues this way, to the kitchen and dining room areas. The kitchen may have been the room I was most excited about before we moved. I truly loved our cozy little kitchen in the old house and was sad to leave it, but I was eager for the very nice upgrade this kitchen gives us. I’ve said it before … people gather in the kitchen, especially when you cook! We love to cook and would frequently have 6+ people in our little kitchen. That plus extra space for one of our favorite hobbies had both of us twitterpated.


spagjunct

Kitchen 

The new house has an open floorplan so dining, kitchen and greatroom seamlessly blend together for a big room that somehow nonetheless feels cozy. I love that the dining room is directly adjacent to the kitchen and I really love our dedicated pantry and a ton of extra cabinet space. This room is probably second only to our office in terms of level of organization required since we have LOTS of cooking gear, all of which we USE. We are about as far along in this room as we are in any room, but we still have a little ways to go.

spices

I was very excited to find a great spot for our spice rack. Not only do I love it for looks and function, but it’s one of the first things Matt ever built! On top of that, it ended up being a great place to showcase these cool little tin prints my mom got me (actually I think she got me the veggie ones and these went to my sister, but I ended up with them anyhow).

Done

  • Unpack. This was a hurculean effort and it’s DONE. YAY US.
  • Organize the kitchen
  • Hang spice rack
  • Hang produce basket from wall
  • Place attractive decorative plant and

pantry

To Do

  • Organize the pantry (sooner)
  • Get rid of the random spaghetti junction on the very back counter that is our ad hoc temporary networking center (sooner)
  • Replace the pendants over the island with the big green ones (sooner)
  • Think about alternative arrangment for paper towels – under sink? (later)
  • Replace the bar stools with ones that function properly and compliment our decor ($$$$ later)

The function of the kitchen has been great so far. We have tons of space to work in and even some empty drawers and cabinets (!?!). The kids can eat breakfast at the counter and it will be a great spot for a little homework as well in just a few weeks. The pantry, even disorganized is miles ahead of where we’ve ever been.

Additionally, one of my favorite features in the entire house is in our kitchen – the kicksweep. Kicksweeps in case you don’t know are awesome little vents in your floorboards that you can kick open. They then produce suction and allow you to sweep a pile of yuck into them. They are genius! We love them.

dining

Dining Room

The dining room was an exciting room for me decorating wise because we got to get new furniture. With all the expenses of a new house, we didn’t want to replace most of our furniture, and we didn’t NEED to either. But the dining room was a different story. Our furniture was from ikea and going on 12 years old. It had been through dozens of parties and years of little kids. Its time had come and gone.

So we looked at length and finally found a furniture company out of Canada, Canadel, who makes semi-custom furniture. Pick a size, pick a leg style, pick a finish, etc. And so we did … A table, two benches and two chairs. It wasn’t cheap, but we got exactly what we wanted and we’re super happy with it. Likewise, our “sidebar” from PB teen, is also a perfect fit.

Like the kitchen, this room isn’t 100% done, but it’s 100% livable

Done

  • New dining set
  • New “sidebar”
  • Organize dining accessories
  • Hang roller shades

To Do

  • Put some stuff on the walls!! (sooner)
  • Consider a chandelier (later)


Our House Right Now: Mudroom + Powder Room


mudroom+powderroomThe house is coming along grandly, so I’m going to share, room by room what it looks like right now, what’s been done, and what’s left. Since the mudroom is where you enter, I’m starting there.

mudroom2The Mudroom

We are so happy with the way this room has come together. We both feel an incredible sense of “hell yea!” whenever we walk in the door. This is one of those grand plans that truly has come to fruition. The spec on this room is for there to be a closet in the corner by the powder room, but we paid $50 to have it removed (I know!!) and Matt built cabinets to put inside it, based on this sketch I did.

mudroom.fw


Of course, things changed along the way. We opted to do a pencil drawer right under the counter top and we nixed the shelves on the left for a broom closet and the boot bench is stand alone and doesn’t open to the floor and its topped with cherry, not fabric. But the essence is there.

mudroom3

And here’s a look at the opposite wall and a view outside into the outdoor living room.

What we’ve done:

  • built cabinets <– Matt is AWESOME
  • finished cabinets – Matt, my sister and I all worked like dogs on this
  • move alarm pre-wire switch
  • install cabinets! – Matt, a friend of ours and our helpful handyman did this not so little task a couple days after we moved in
  • procure granite on the cheap (all Matt)
  • install granite – included in the price of the granite (yay!!)
  • install hooks in each locker
  • install holders for vacuum and broom/mop in the broom cupboard
  • clear out Loki’s stuff that was stashed in the drawer and put it in a basket in the top broom cabinet shelf  and put in pens and other useful things
  • hang keyrack

What we’ve got left to do:

  • make and install shelves in each boot cubby (later)
  • make and install doors on broom cupboard (later)
  • trim out left side of cabinet so it runs all the way to the wall (sooner)
  • repaint patch from where alarm prewire used to be (sooner)
  • procure baskets for top cubby cabinets (sooner)
  • teach kids to use lockers/cubbies (sooner)
  • paint giant chalkboard on wall closest to the dining area (considering will be done later)
  • hang kids’ measuring stick on end of wall closest to dining area (sooner)
  • general organization stuff (??)

All in all? Not bad. The doors/shelves will be done once Matt’s shop is up and running again and once I get over my current antipathy towards painting/sanding/finishing.

powderroom

The Powder Room

There are few rooms in the new house that resemble their counterparts in the old house as closely as this one does. We used virtually the same color for our accent wall and the same art, hand towels, basket, etc. I really liked our old powder room, so I saw no reason to mess with success. But here’s a recap:

Done

  • accent wall (thank you painting faeries!)
  • accessories added back in

To Do

  • Hang wall art, couple of great camping related prints (sooner)
  • Frame and hang another print that our friends gave us, a cute travel trailer made from CO maps!! (sooner)
  • Wouldn’t mind changing out that mirror for something framed (no hurry)

So that is part 1 of the main level. Tomorrow – the kitchen + dining room!

A State of Chaos

2014-07-27 23.18.11So moving is a lot of work. Way more than I remembered from the last time we did it almost 10 years ago. I am pretty sure we have more stuff. I’m also pretty sure we’re secret hoarders. I mean … look at this:

2014-07-27 23.18.05

… crap everywhere! And that’s not nearly the worst of it.

What have we been up to?

Tuesday: We closed and did a bunch of stuff that night, including hanging window coverings. Unfortunately, two of the ones that shipped (we had about 1/3 arrive before we closed, the rest are on backorder) didn’t fit right, so they should be back sometime this week.

Wednesday: We worked (at our day jobs) and our painter arrived to do the color for the bedrooms and powder room. I love every color we picked and will share soon. Matt and his buddies installed the mudroom cabinets. Kelly and I built pieces of the office furniture.

Thursday: We rented a Uhaul and loaded up almost all the stuff from my sister’s garage and our friends’ basement. Our painter painted ceilings, the granite guys came to take measurements for the mudroom, we had a washer/dryer, kitchen table and chairs and eventually the refrigerator delivered. We diligently unpacked like mad, trying to stay ahead (haha).

Friday: I met the movers at our storage unit, Matt met the other crew of movers at our rental house and we moved everything from those locations. See? Secret hoarders. In 6 hours they moved the big/bad stuff. Mostly furniture and power tools. We unpacked MORE. We got everyone’s beds setup. We built Tabby’s new desk. Loki peed on the floor and we discovered our brand new washer wouldn’t work. At all.

Saturday: We unpacked. We assembled. We hung Ben’s new fan. We spent hours harassing Sears about getting us a new washer, like NOW. We eventually had to call Lowes and order a new one through them. We unpacked. We went to Ikea to pick up a couple of things.

2014-07-27 21.14.01
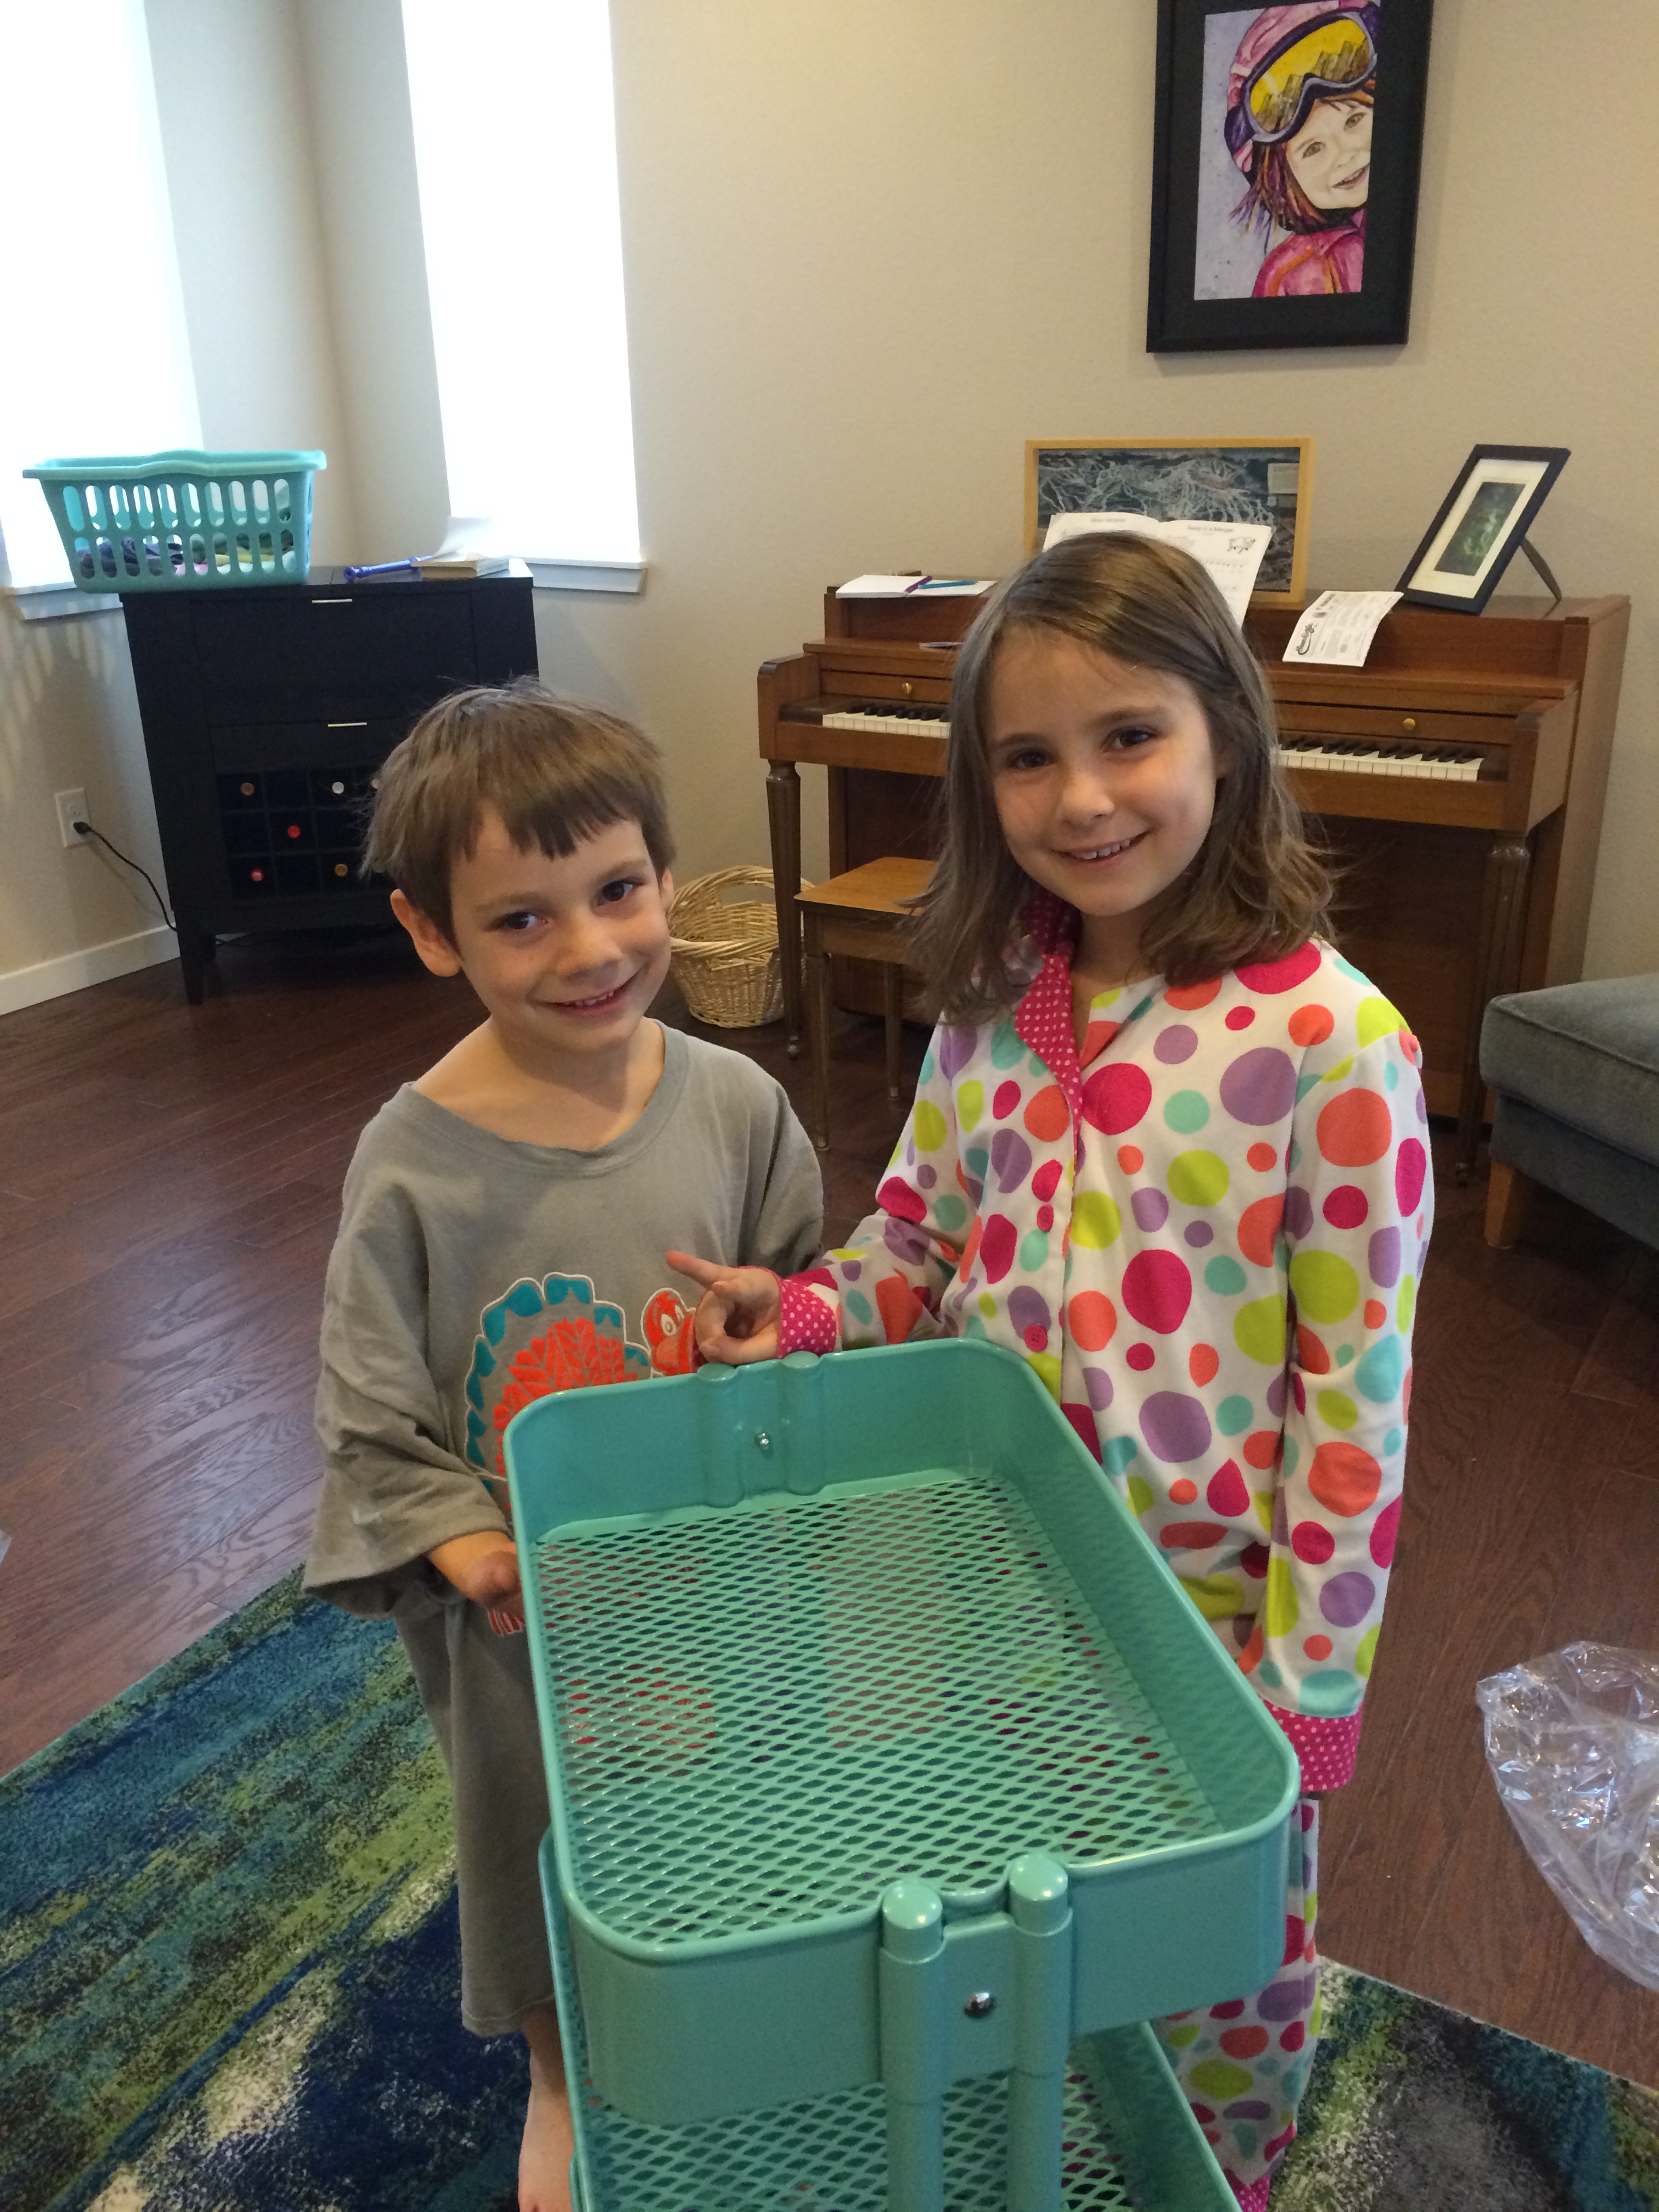
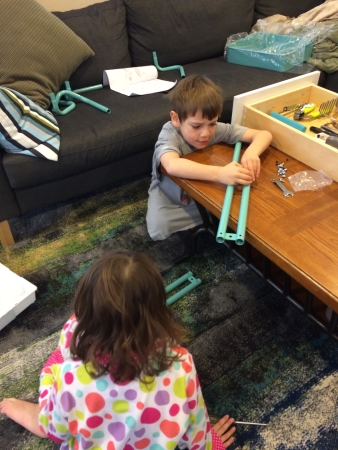
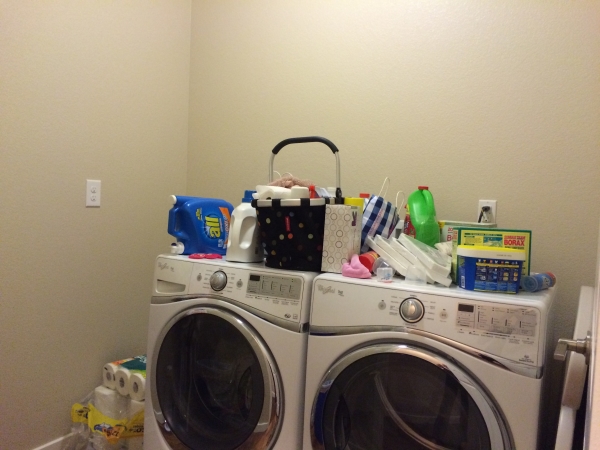
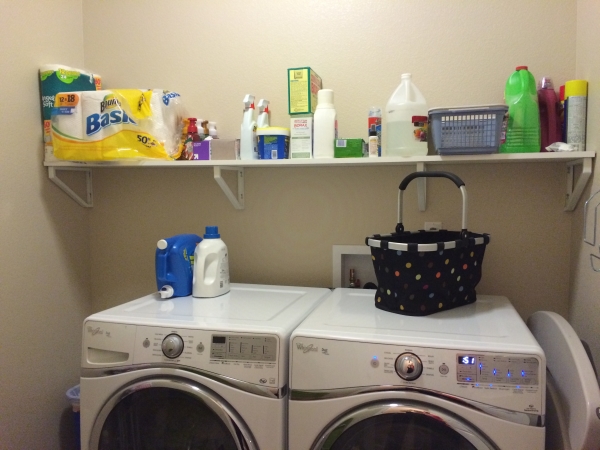
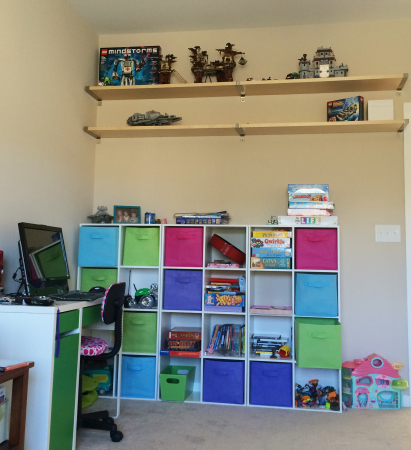
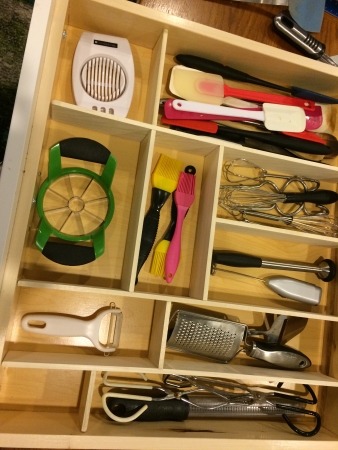
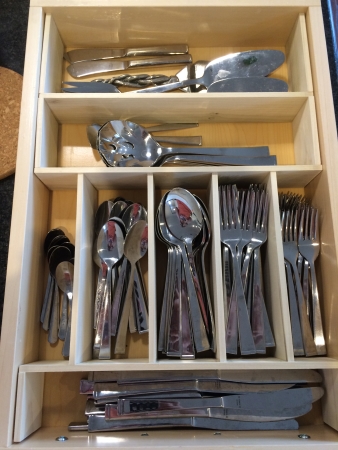
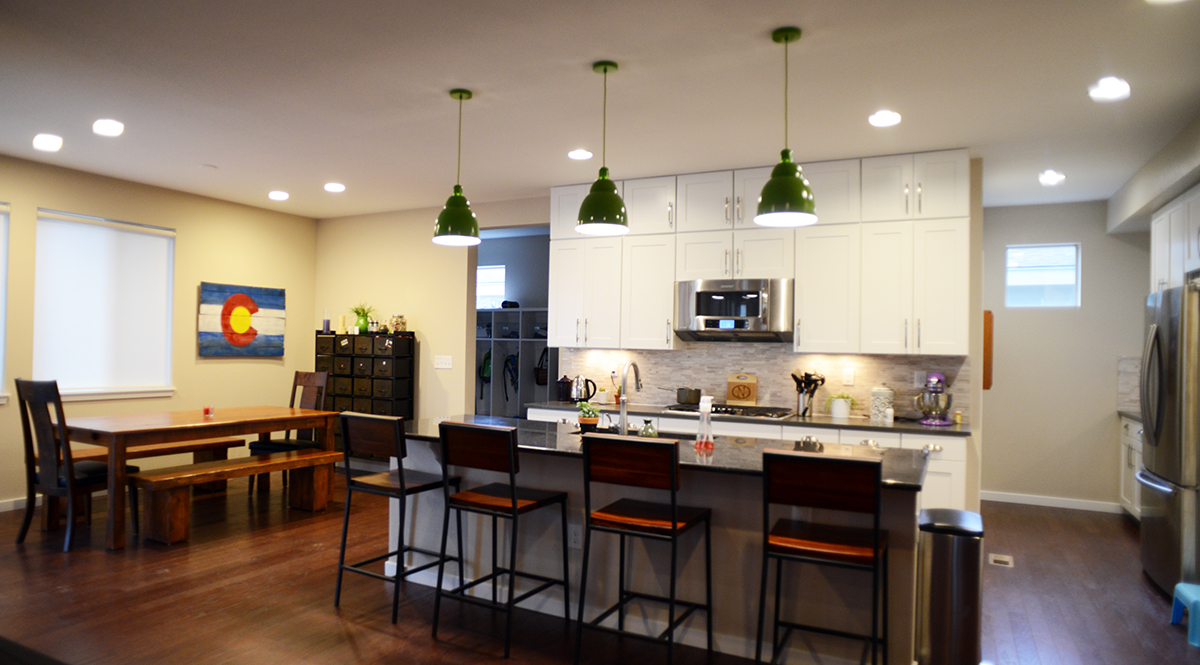
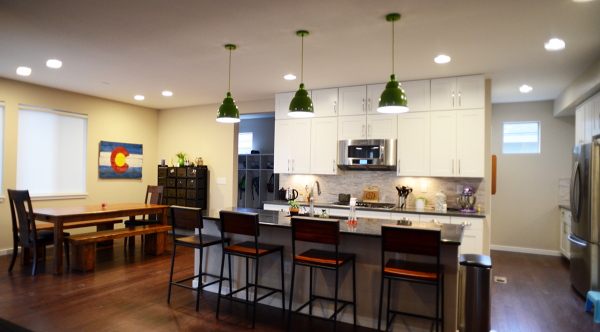
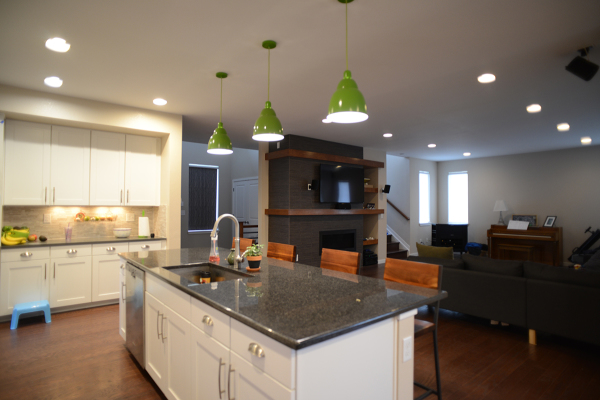
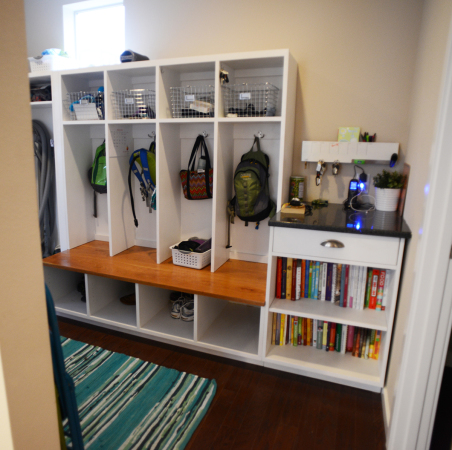
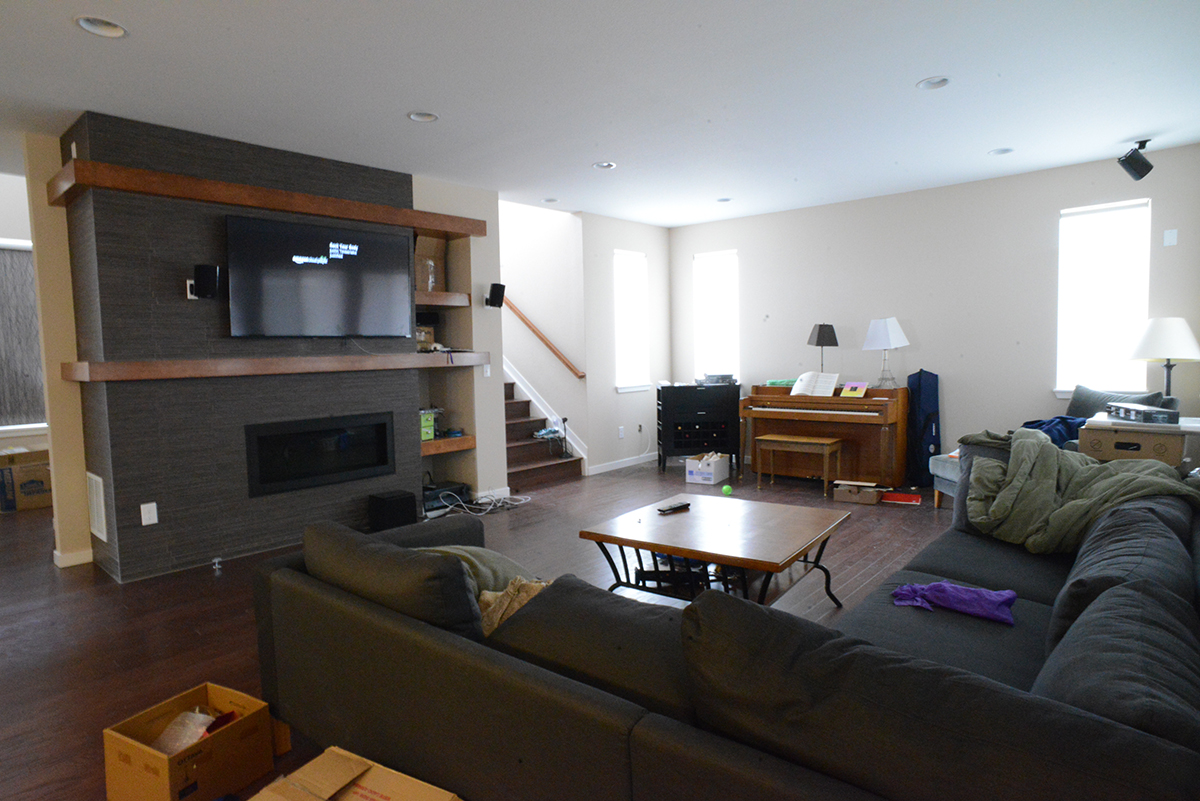
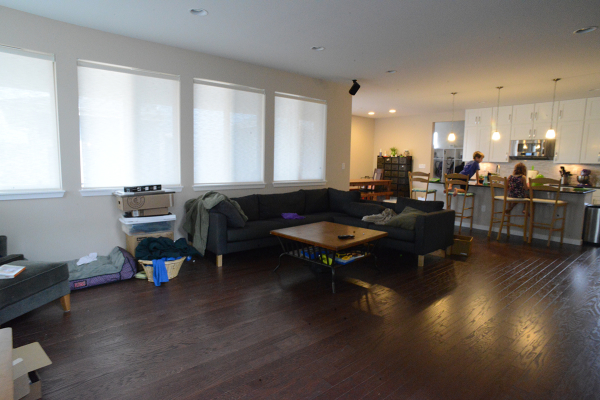
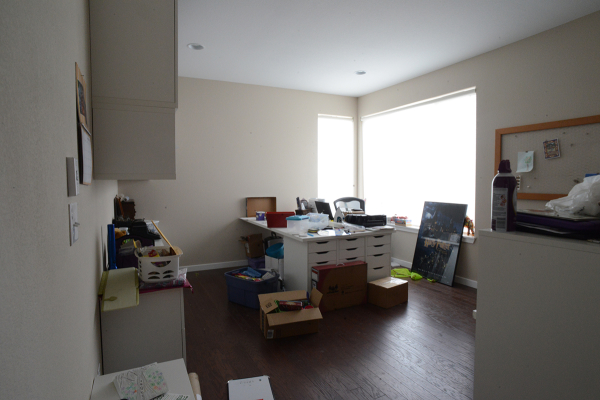
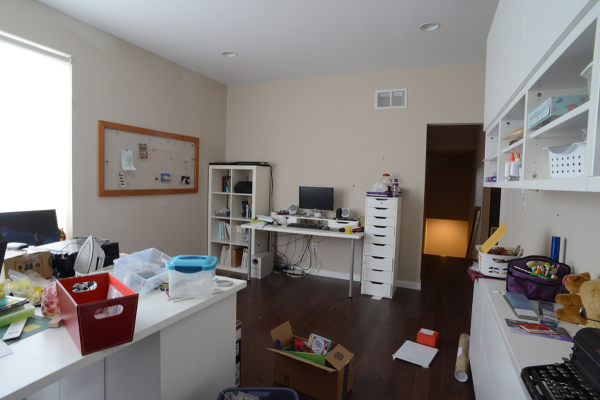
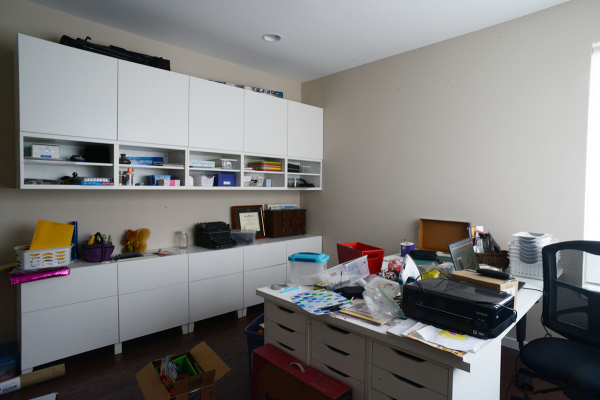
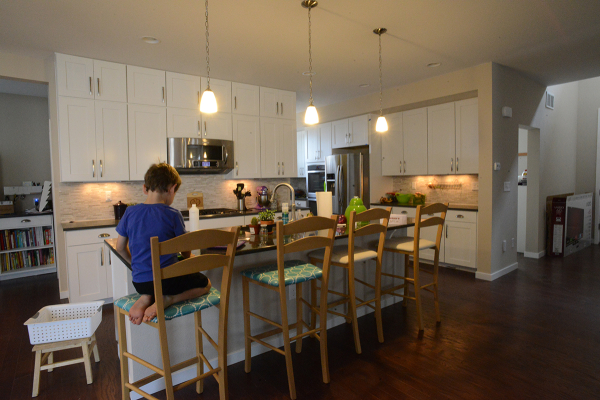
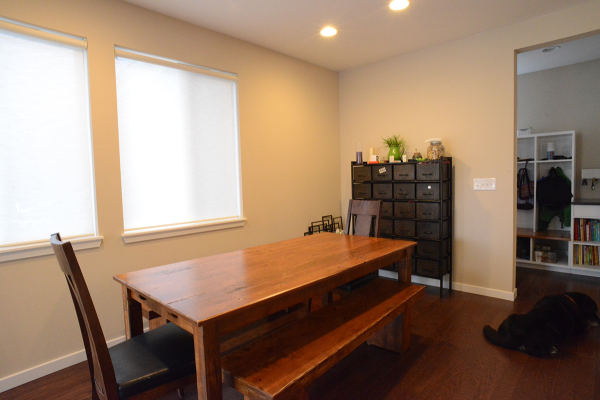
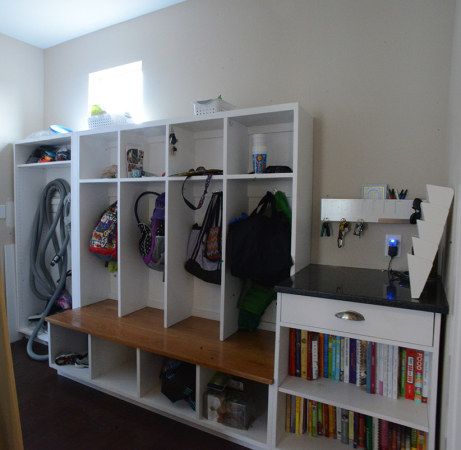
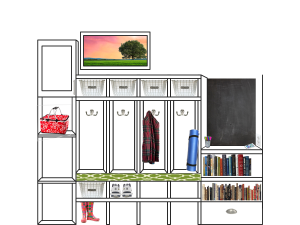
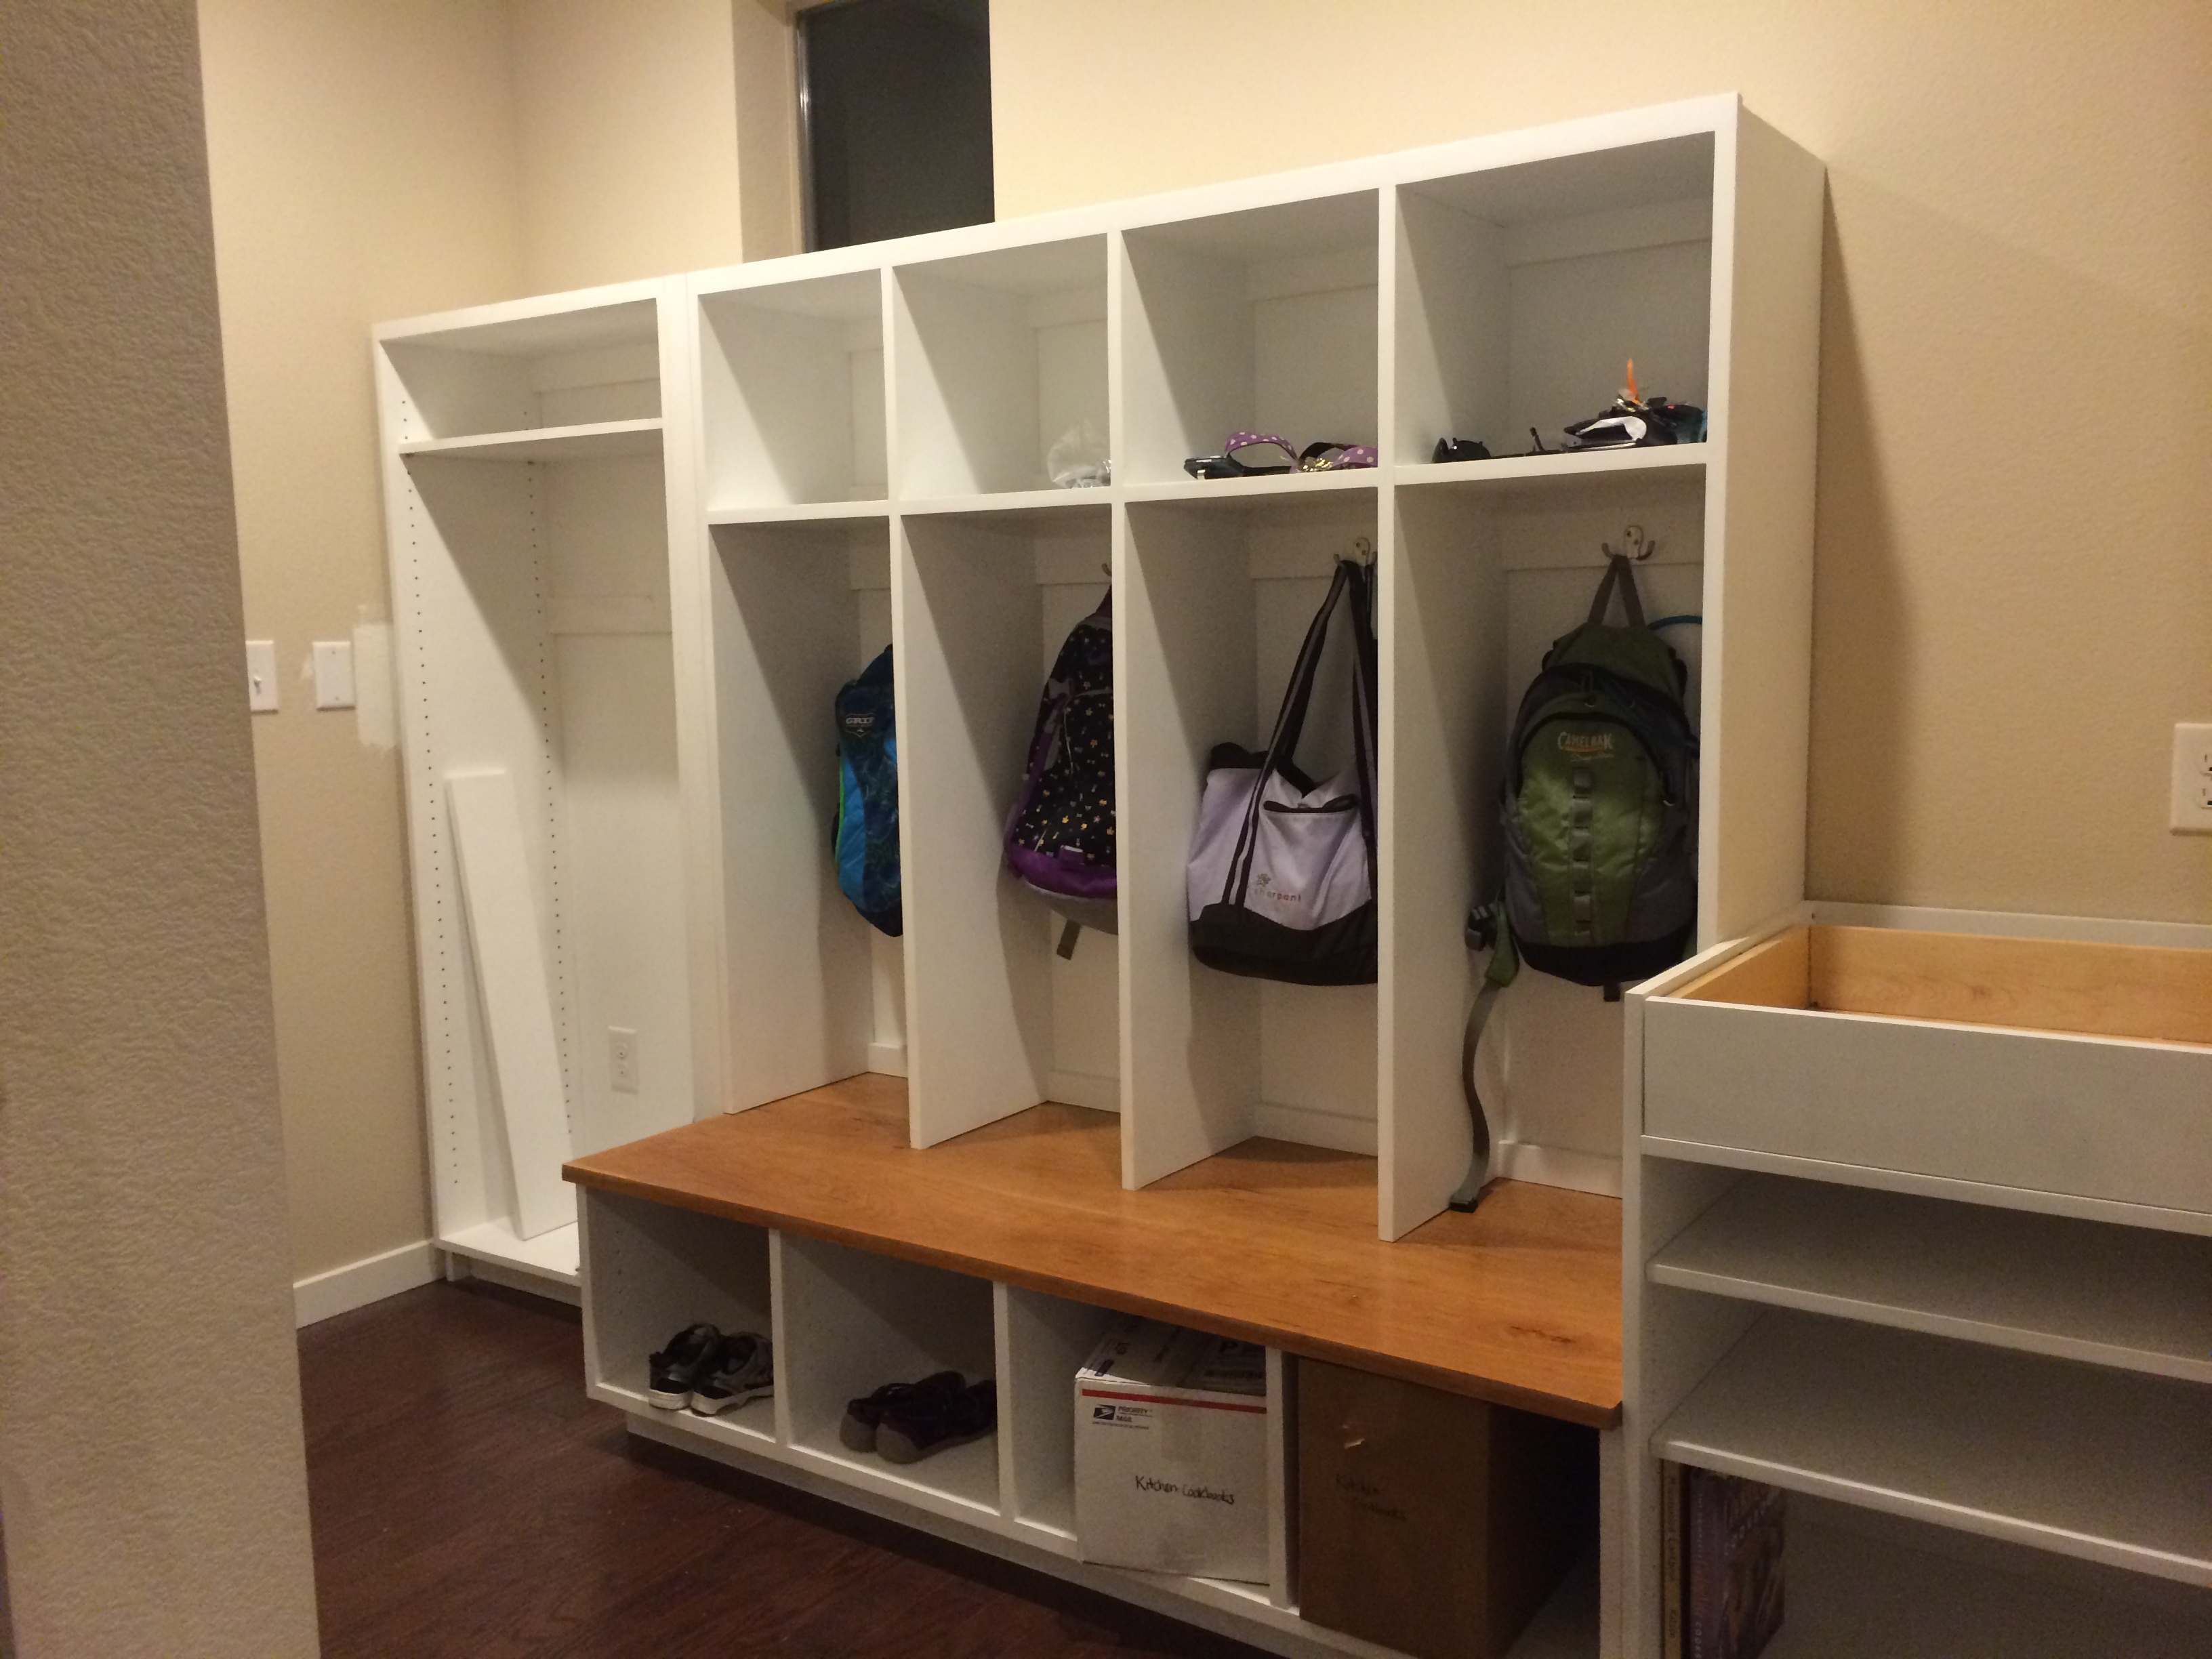
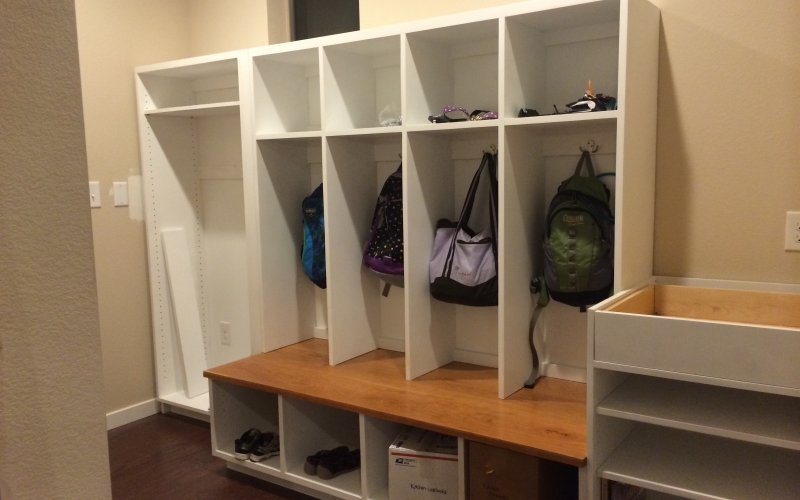
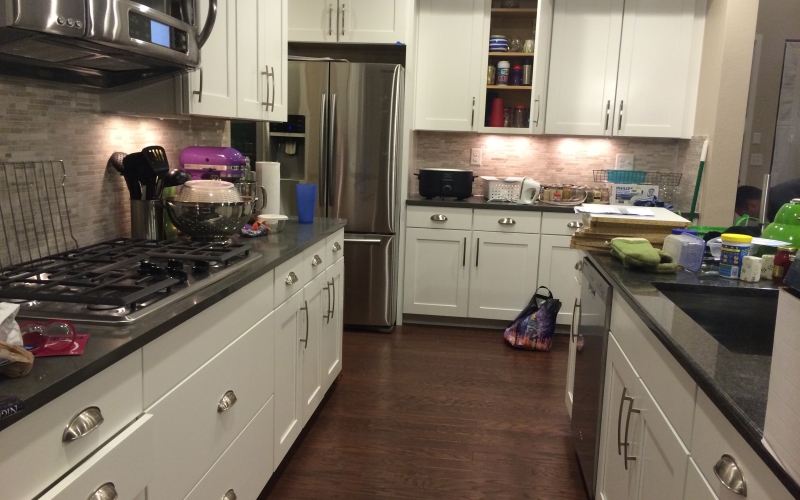
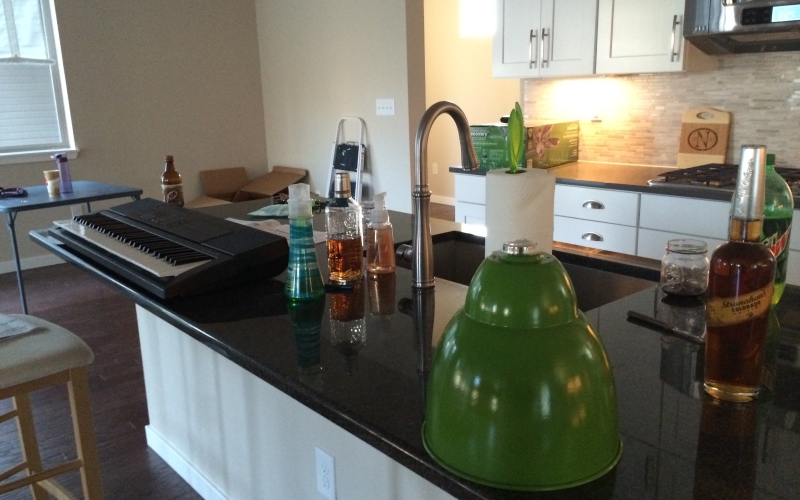
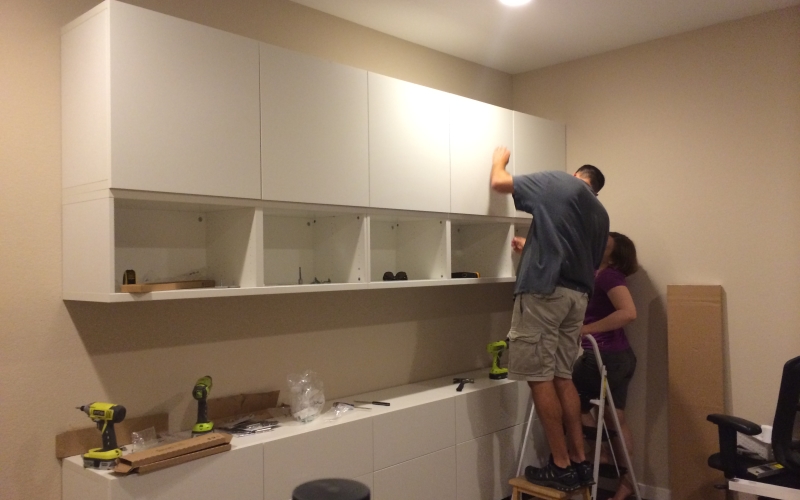
Sunday: We actually made breakfast (pancakes and bacon) in our new kitchen (after moving around a ton of stuff).  We went to the grocery store and Home Depot for various deficiencies. Our new new washer arrived. We did tons of laundry. We assembled more office furniture and installed it in the office. We made actual dinner. We went for a walk. We installed mudroom shelves and some hooks. It’s not done, but it’s looking good.

It was actually an odd pleasure to wake up this morning and go to work. I got to shower in my nice big shower. My car was right there waiting for me in the garage. The drive was about 10 minutes longer than the one from our rental house, but I will gladly take that so that Matt and the kids aren’t being run ragged on their commutes.

We’ve got a ton to do, but we are making good progress and really enjoying feathering our nest. I’m constantly amazed by my husband and his ability to work out stuff (like hanging our cabinets) and just get it done. He’s pretty brilliant. I’ve been impressed too at how the kids have pitched in and helped and how they’ve been happy to entertain themselves while we work. Life is good. And I really really appreciate it!

We’re In!

2014-07-23 06.25.40Well after much moving and shaking yesterday, we are in the new house!

2014-07-23 06.23.30There’s a lot of this going on … basically blank rooms with just a couple of random pieces of temporary furniture in them. This is the master bedroom. We borrowed our friends’ Aerobed and the ladder and chair are hanging around because we hung some window coverings last night.

2014-07-23 06.24.58We had a few people over last night. We ate pizza, mostly standing around the counter. We moved a junction box, we hung some more window coverings. Two fun things about this photo: 1) the green thing in the foreground is one of three pendant lights I picked up on the cheap from PB Kids. They’ll give some fun color pop to the room. 2) Tabby’s keyboard was brought over in the first load so she can keep practicing.

2014-07-23 06.23.54Loki has already gone walkabout and helped us meet some new neighbors. Contrary to how he looks in this photo, he seems pretty happy with his new digs. He is getting a nice brand new bed today.

We are kicking butt moving the next couple of days. Hopefully I’ll have some more fun photos to share soon.

Stylebook: The Backyard!

back yard
When we first came to check out the models, never intending to move, one of the things that sucked me in was the outdoor space. Here in Colorado, we are blessed with the most awesome weather. That probably sounds crazy to an outsider who thinks of CO only in terms of snow and skiing, but while we can go very low (and usually do a few days a year), we have very nice, temperate weather (random 60 degree days in the middle of winter!), tons of sunshine, and the most gorgeous summer nights – crisp and perfect. In short, perfect to be outside. A room like this just extends your enjoyment of our great weather, taking that little nip out of the air.

Add into it, the fact that this yard is significantly bigger than our old one, and I’m actually pretty excited about decking out the back yard.

outdoor furniture
So back in January, when the snow was still flying (we were actually skiing at the time), and the ink had barely dried on our sales contract, I saw a screaming deal on an outdoor patio set (above) for the fireplace area, i.e. outdoor living room. I ended up buying it sight unseen. It arrived a few weeks later. By then, we were in the throes of staging/moving and all I could do was toss it in my sister’s garage and hope for the best. To this day, I still haven’t seen it. Here’s hoping I like it as much in person next week as I did in the online photos because I don’t think it’s going back now …

you are here

This area will also need some ambiance. I plan to achieve that with some string lights, and possibly this fun sign from Dot and Bo.

To keep the area cool when necessary, we have a few ideas. We had the area pre-wired for a fan. This is nice as well because it keeps bugs away. We also just saw a house where the owners had installed DIY low-pressure misters along the edge of their patio. That was a nice feature, but I’m not sure about the extra added moisture. We are also considering making – just saw a great tutorial on this – or buying curtains to hang along the outward edge of the porch both for shade and privacy.Since we will also likely be having our outdoor movie nights here, so this could be a good surface for the projection screen if we choose wisely.

The dining area (to the right in the photo), is pretty boring in my mind. We have a very serviceable table for six that we will not be replacing. The one thing we will eventually do to this area is add a fan above, both for the chill factor, but also for bug control!

shower

The rest of the backyard is a complete blank slate. This is both thrilling and terrifying to me … I am not much of a gardener. Overall, I want to keep it pretty simple, plant wise. I know what I like … hydrangeas, honeysuckle, sweet peas, daisies, sunflowers, shade trees and a bit of grass, but I know squat about keeping up and maintaining that stuff. So vegetation wise, we will see. I’m talking to a landscaper we work with.

One thing I know I want is an outdoor shower. The house we rented in Hawaii when Tabby was a baby had one and it was great! Happily, it’s a pretty inexpensive thing to do when we are doing plumbing for sprinklers anyhow. There are solar solutions online for around $100 or we could have hot water plumbed out as well. I think it would be awesome for hosing off the kids and the dog!

playhouseI’d also like to have a nice little secluded spot for the kids. I’m not 100% sure what it can be. We have space, but not a ton and we are also bound by HOA regulations … and of course time and money. I have found a bunch of cool, but not crazy playhouses and I think it would be lovely for them to have something like this. They’re not going to be interested for too much longer!

We will also, possibly foolishly, put in some raised beds again. We’re not great gardeners as mentioned before, but we have had some success with the few things that you can pretty much just dump in the ground and leave, including: herbs (these go in pots with drip lines), tomatoes, raspberry bushes (along any fence with a little water) and strawberries.

I am most excited for the kids to be able to just go outside and play. Tabby in particular loves just sitting on the ground, checking out bugs (many of the same ones that make her scream in fear indoors) and “getting some peace and quiet.” And it will be great for Ben to have a place to run out all of his excess energy!