 This recipe is another payment in the “family cookbook” series. I’ve been collecting recipes for years and I publish and share them on this blog. A few years ago, I started designating some as “family recipes.” To garner this status the recipe must have been cooked by us at least a handful of times and judged to be superior in every way.
My efforts redoubled when a few months ago, my then-five-year-old daughter asked me how she would know how to cook all of her favorite things when she left for home. I was pleased that she asked the question and that even at her age, she has a special connection to cooking with us. It makes me feel like I’m doing my job right, that’s for sure.
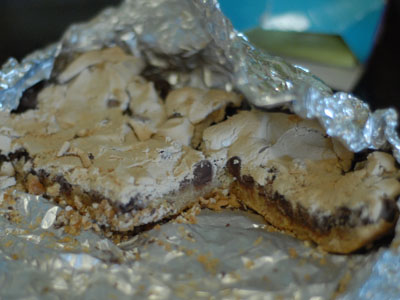
These cookies were found on the internets (probably pinterest) and they are something else. They are in most ways a normal chocolate chip cookie, but the batter contains both peanut butter and pudding mix and that seems to make them a bit softer and more tender than your average chocolate chip cookie and very very tasty, especially with milk.
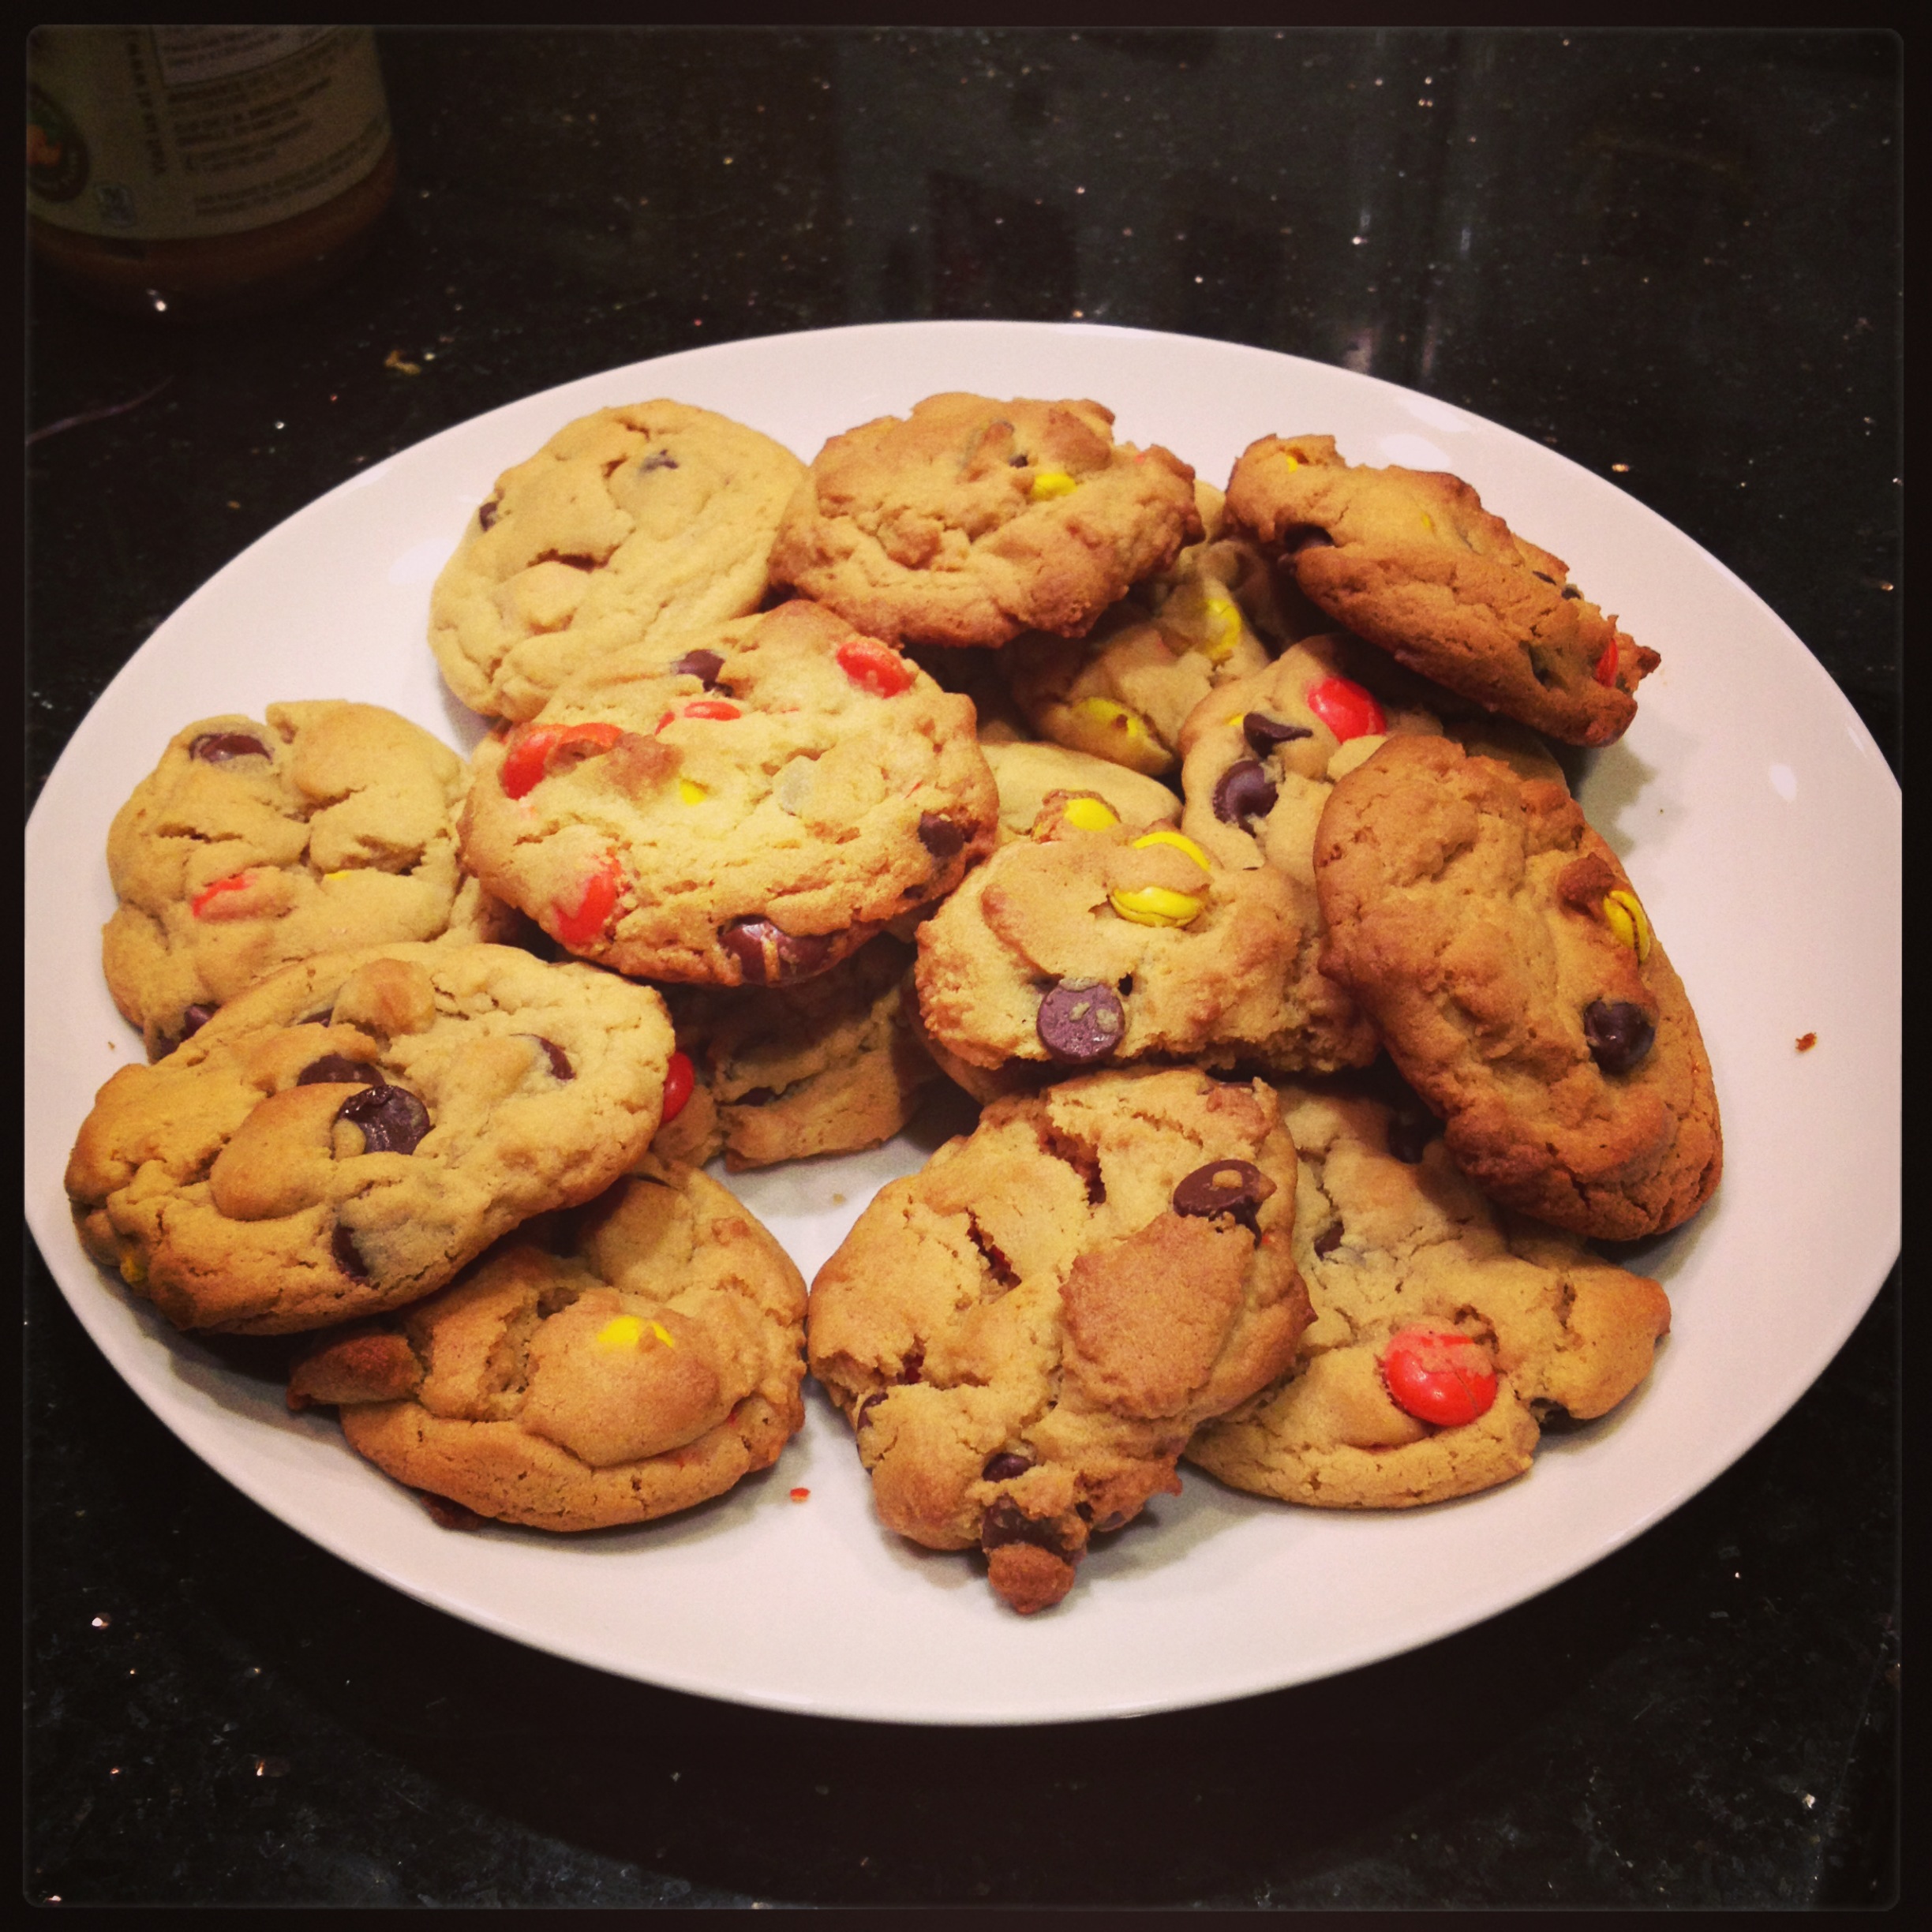
Those Reeces Cookies
adapted from Sweet Pea’s Kitchen
Ingredients
- 2 1/4 C all purpose flour
- 1 t baking soda
- 1/2 t salt
- 1 3.4 oz box instant vanilla pudding mix
- 3/4 C unsalted butter, softened
- 1/2 C creamy peanut butter
- 1/2 C sugar
- 1/2 C brown sugar
- 2 lg eggs
- 1 t vanilla extract
- 1 T honey
- 1 C Reece’s Pieces candy
- 1/2 C chocolate chips
Heat oven to 350 and prepare two cookie sheets. Original instructions use parchment paper, but I don’t find this necessary. In a medium bowl, whisk together flour, baking soda, salt and pudding mix. In the bowl of a stand mixer, cream together butter, sugars and peanut butter until smooth. Add the eggs one at a time, making sure they are thoroughly combined after both additions. Add the honey and vanilla extract and scrape down the sides of the bowl if necessary. On low speed, add the flour and mix to combine. Again, scrape the sides of the bowl if necessary. Add Reece’s Pieces and chocolate chips and mix to combine.
Roll dough 1.5 inch balls and place a couple of inches apart on your cookie sheets. Bake at 350 for 10 minutes. Cookies will be starting to look just a little brown on top, but go ahead and take them out and let them cool on the cookie sheets for a couple of minutes and they will set. You don’t want to over cook them or they can become dry. VERY important!
They are incredibly wonderful with milk. mmmmmm